theordinarycook

The Ordinary Cook loves to cook. If I am not cooking or baking then the chances are I am thinking about cooking and baking. I love sharing recipes and ideas and my website is my space to do this.

Peshwari Naan

I made some of these last night to go with a roast chicken and spiced potatoes.  I made the recipe up so it might actually bear no relation to an authentic Peshwari Naan.

350g strong white bread flour
1 tsp salt
1 tsp fast action yeast
1 tsp honey
25g softened butter
25g ground almonds
100ml water
80ml milk
50g sultanas
25g flaked almonds

Method

Place the flour, yeast, honey, salt and ground almonds in a large bowl. Cut the butter into cubes and add this.  Heat the milk and water until hand hot and pour over the   flour mixture.  Mix well until it forms a soft dough. Place onto a lightly floured board and knead for about ten minutes until smooth and elastic.

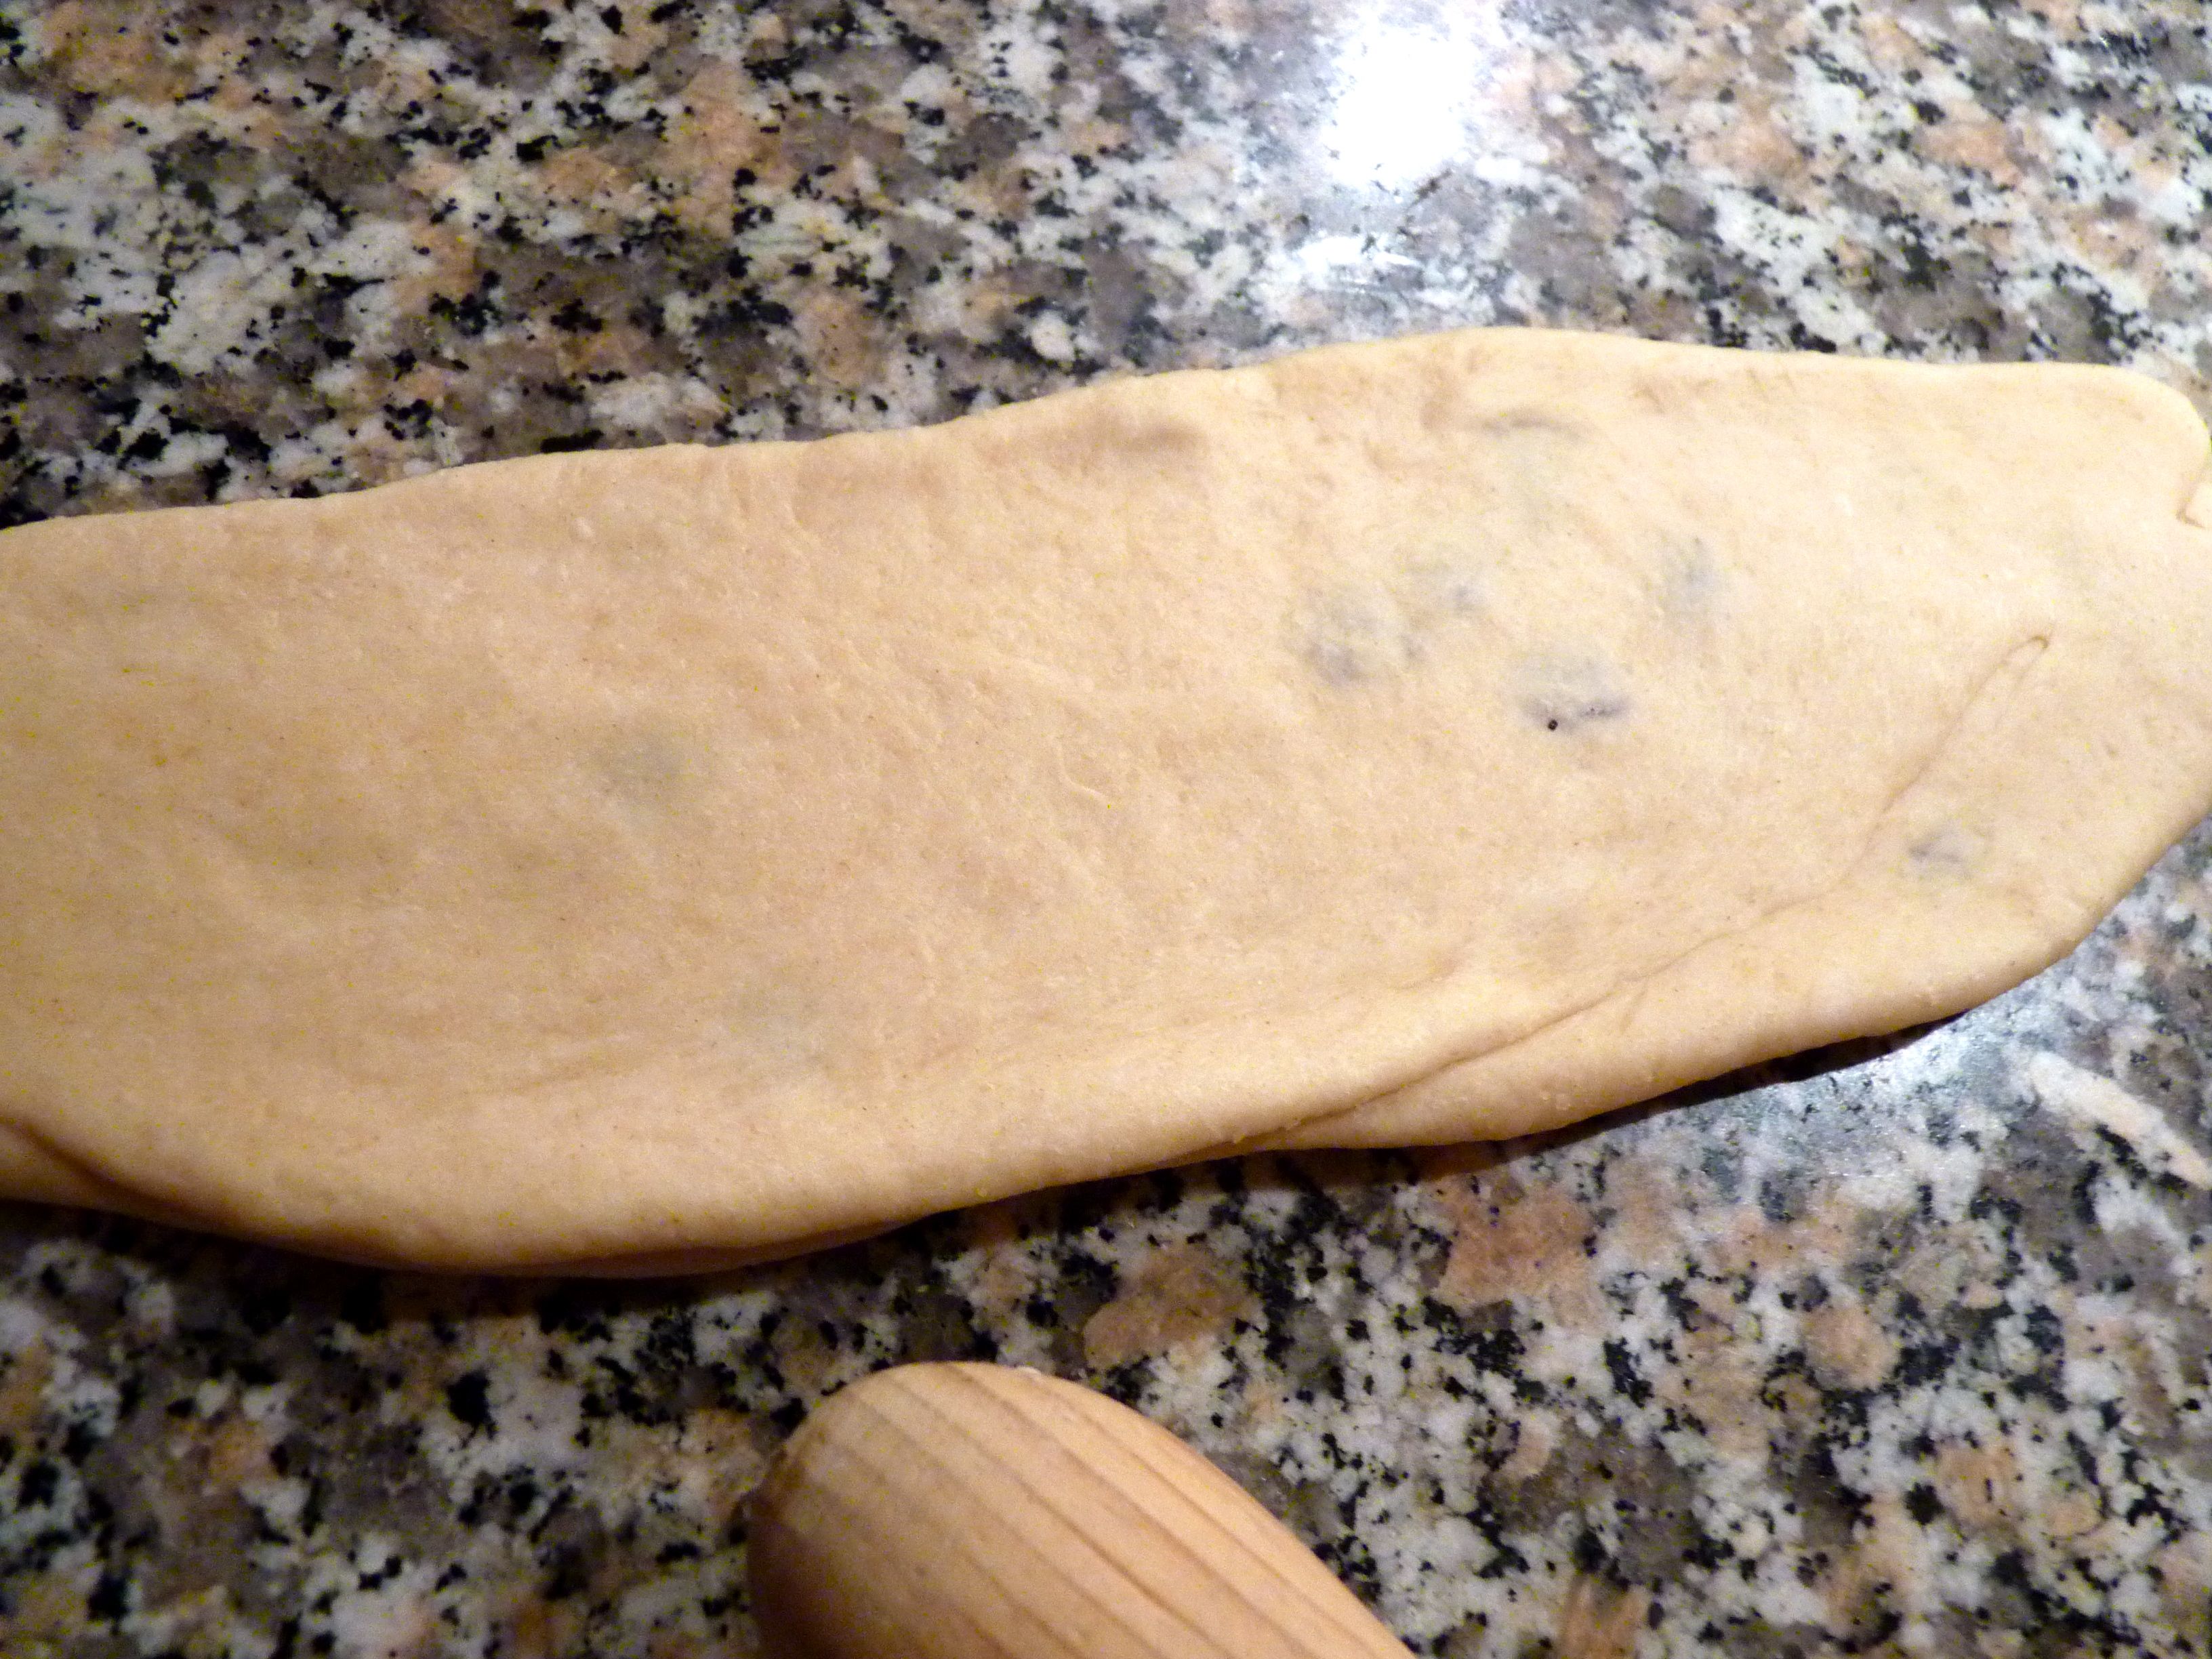
Place the dough back into the bowl, cover with a plastic bin liner and leave to rise in a warm place for about 1 hour.  Knock the air out of the dough and divide into four pieces. Roll each piece into an oblong and then scatter with one quarter of the sultanas.  Roll up from the longest edge.  Seal the joins well using your fingertips and then roll into an oblong again.  Scatter with one quarter of the almonds and gently roll these in using the rolling pin.

Cover with a cloth and leave to rise for fifteen minutes.

Preheat the oven to 230°c, gas mark 8 or use the Roasting Oven of the Aga.  Place a baking tray in the oven to heat up.

Put the naan onto the hot baking tray sprinkle with a little water and bake for 10 minutes until golden.  Serve straight from the oven.

Peshwari Naan Read More »

Rocky Road Slice

It is Cake Sale Day at the little one’s nursery today to raise money for the nursery. So my contribution is this Rocky Road Slice and an awful admission, which I will tell you about at the end of this post.

I have completely made this recipe up this morning so I don’t know if it should really be called Rocky Road at all.  To be honest it’s not something I would choose to eat myself, it is overly sweet for my tastes, but I think the children will like it.

I have used what I have in my cupboards so feel free to use whatever you have in yours.  Replace the cranberries with sultanas or raisins if you like, use another biscuit rather than digestives – you get the idea.

50g dark chocolate
50g milk chocolate
25g butter
2 tbsp golden syrup
25g mini marshmallows
50g dried cranberries
4 digestive biscuits (Graham Crackers), crumbled
25g Rice Crispies (puffed rice cereal)

30g milk chocolate for drizzling over the top (optional)

Method

Melt the dark and milk chocolate, butter and syrup together in a large bowl over a pan of simmering water.  Make sure the bottom of the bowl does not touch the water. Stir well to combine  and add the rest of the ingredients, mixing well.

Line a 20cm square tin with clingfilm and pour the mixture in.  Level the top, pressing down well.  Melt the milk chocolate, if you are using it, and drizzle over the top. Place in the fridge to set.  Mine took about 1½ hours this morning.

Cut into squares.

Now for my awful admission.  My other contribution will be Double Chocolate Cookies made from a box mix – I know, shock horror.  Believe me, I am struggling with this myself.  I was given a box of it and I was in a quandary as to what I should do.  I have promised myself that I will try not to waste any food, so putting it in the bin was out of the question.  Then I worried that I may be becoming an awful food snob. I looked at the ingredients – flour, light brown sugar, sugar,(yes, sugar is listed twice), fat reduced cocoa powder, natural flavouring and raising agent.  I was reassured by this list, this is what I would normally put into cookies, so they can’t be too bad.  I just had to contribute the butter and egg yolk.

Anyway, I made them and they are OK, they don’t taste as good as if I had got out the flour, sugar and cocoa out of the cupboard.   There seems to be a lot more sugar in these than I would have put in and I think the cocoa is poor quality.  So, there you have it, my verdict is that these ready to bake kits might be OK if it gets someone baking that wouldn’t otherwise touch it with a barge pole.  But, you can definitely make tastier biscuits if you select the best ingredients and the right ratio of sugar.

All in all, I don’t know if it is an awful admission or if I have just become a terrible food snob, but a famous brand of cookie mix did not go in the bin and the cookies will be taken to  the cake sale.  I might just anonymise the plate though :).

Rocky Road Slice Read More »

Stem Ginger Truffles

At Christmas Mr OC buys me a big box of chocolates – he knows how to keep me sweet.  He normally asks for mainly cherry chocolates – you see, he definitely knows how to keep me sweet.  This year the chocolate shop ignored his request. This was initially a bit disappointing as there was only one cherry chocolate in the box – horrors!  But as it turned out it was a good thing as I got to try every chocolate in their selection and a particular favourite was the chocolate coated crystalized ginger.

I knew I had to make some and soon.  I have a jar of stem ginger in syrup in the cupboard, so I decided to use this as the flavouring in my truffle recipe. I made them yesterday as a present for Mr OC.  They aren’t as beautiful as a shop bought truffle, but they are very tasty. One tip though – don’t leave them by a warm radiator before you give them to the lucky recipient, this only leads to disaster.  They are best kept in the fridge.  Oh well, lesson learned.

Makes about 20 truffles.

100g best quality dark chocolate
200ml double cream

60g stem ginger in syrup, chopped finely
25g caster sugar or cocoa powder to coat the truffle

Method

Break the chocolate into small pieces or whizz to rubble in a food processor and place into a bowl.  Pour the cream into a small pan and heat to just below boiling point.  Pour the hot cream over the chocolate and leave for a minute and then stir until smooth.  Place in the fridge for about two hours until the mixture is thick enough to roll into truffles.  Add the chopped ginger to the mixture and stir well.

Now, you can roll teaspoonfuls of the mixture into small balls like I did yesterday, or you can shape them roughly into ball shapes using two spoons.  I think I like the rough and ready look a little better.  Take a look at my Cherry Truffles and see what you think.

Then coat the truffle in caster sugar or cocoa or even chopped nuts, whatever takes your fancy.  Store in the fridge and enjoy regularly.

Choclette recently made some gorgeous looking Ginger Chocolates so pop over and take a look at her lovely recipe.

Stem Ginger Truffles Read More »

Sticky Lemon Cake

This a lovely cake, intensely lemony and sticky. I first made it back in 1999 for my mum on Mother’s Day.  It was a recipe in the Tesco Recipe Magazine in March 1999.

The instructions for this cake advise that you whisk the eggs and sugar in a bowl over simmering water.  I have always done this, but it is such a pain.  Trying to get the electric wire of the whisk to stretch over to the hob or Aga and then holding the bowl steady over a hot pan is awkward and potentially dangerous.  So, this time I ignored that instruction and just whisked the eggs and sugar in a bowl in the normal manner and it worked just as well, with the mixture becoming just as moussey and the cake being so much easier to make. I also thought that if I sifted the flour twice, like I did with the chocolate muffins, this would make the cake even lighter.  It worked.

This cake lasts a couple of days in a tin, so is perfect to keep cutting into.

350g caster sugar
5 eggs
finely grated zest of 3 lemons
250g plain flour
50g cornflour
1 tsp baking powder
150ml double cream
juice of 1 lemon
100g melted butter

For the glaze:
juice of 2 lemons
50g icing sugar

Method

Preheat the oven to 180°c, gas mark 4, or use the Baking Oven of the Aga.  Grease and line the base of a 20cm springform tin.

Place the eggs and the sugar and the lemon zest in a bowl and beat with an electric whisk until the mixture is thick and moussey.  Sift the flour, cornflour and baking powder into a bowl and then sift again, in three separate batches, over the moussey mixture and fold in very carefully with a large metal spoon. Fold in the cream, then the lemon juice and then the melted butter, making sure that each are well mixed in before adding the next.

Pour the mixture carefully into the prepared tin and place on the middle shelf of the oven and cook for 50-60 minutes until a skewer comes out clean when inserted into the middle of the cake.

When the cake is nearly cooked place the icing sugar and lemon juice into a small pan and bring to the boil and simmer for five minutes.

As soon as the cake comes out of the oven pierce it all over with the skewer and brush the lemon glaze all over.  Leave the cake to cool completely in the tin.


Sticky Lemon Cake Read More »

Chicken Korma

Blimey, it has been a busy week.  Blogging has had to slip down the list of priorities.  Family members and several friends foolishly signed themselves up four months ago to take part in the local am-dram performance of Aladdin and this week is the week of the performances. So out of a sense of comradeship I foolishly signed up to help with doing the stage make-up.  This has been good fun and a lot of trial and error (poor old Widow Twanky) but it has meant snatched meals and quite a bit of forethought has been needed to make sure that the children and my husband haven’t felt neglected in the evening meal department.

Last night I prepared this Chicken Korma, it is an adaptation of several recipes that I read and I am not even sure if it qualifies for that name or if I should just call it Spicy Chicken.  I was really pleased with the way it turned out.  I have written before about how my curries are usually a bit disappointing and so I tend to rely on Patak’s pastes for my curries.  Whilst Patak’s do make delicious pastes, it has always frustated me that I can’t manage to make a tasty curry of my own.  Well, finally my goal has been achieved with this one.

It is great if you are busy because you can leave it to marinate, then spend a few minutes cooking the onion and tipping the marinated chicken into a pan and then leave it to cook gently until you are ready to eat.

Serves 2

4 chicken thighs, skinned and deboned
2 cloves of garlic, crushed
juice of ½ lemon
1 tsp root ginger, finely chopped
1 red chilli, chopped finely (with seeds for heat)
1 tsp turmeric
1 tsp ground cinnamon
1 tsp cumin seeds
1 tsp coriander seeds
seeds from 6 cardamom pods
150g natural yoghurt

1 onion
25g ground almonds
5 fl oz (¼ pint) water

Flaked almonds, to serve

Method

Place the cumin, cardamom and coriander seeds into a saucepan and place over a medium heat for a minute or so until their scent is released.  Grind until fine in a pestle and mortar.

Slash the chicken thighs several times with a sharp knife to allow the marinade to penetrate into the meat and place in a non-metallic bowl. Add the garlic, ginger, chilli, lemon juice, spices and the yoghurt and mix well so that all is combined and the chicken is well covered.  Leave to marinate at room temperature for one hour, or all day in the fridge.

Chop the onion finely and fry in a little oil until translucent.  Tip in the chicken and the marinade and cook for a minute or so, then add the ground almonds and the water.  Bring to a simmer and simmer gently for about 45 minutes until the chicken is tender.  If you have an Aga then place it in the simmering oven and you can leave it in there simmering away until you are ready to eat.  I left mine in for three hours and then placed it back onto the simmering plate to bubble away and thicken the sauce before serving with plain rice.

To toast the flaked almonds, place them in a dry pan and toast over a medium heat for a minute or so until lightly browned.  Sprinkle over the Korma just before serving.

Chicken Korma Read More »

Mocha Hazelnut Cake

I have times when I crave a coffee cake.  I usually turn to the classic coffee and walnut in such times of need.  But I have also been coveting the notion of an Italian Hazelnut Cake.  I think it was Rachel’s blog where I first saw this, or it may have been Michele’s, or even Tracy’s.  That is the trouble when you read so many wonderful blogs, it can cause no end of trouble when you try to find a recipe that you loved.

Fortunately for me Rachel Allen does an Italian Hazelnut Cake in her book, Bake, and so with a bit of tweaking I had the perfect Coffee and Hazelnut Cake, and because it’s me I couldn’t resist adding some chocolate and turning it into a Mocha Hazelnut Cake.

I urge you to try this, it manages to be incredibly light and incredibly moist at the same time.  The coffee shines through but doesn’t diminish the wonderful hazelnut flavour and the chocolate adds a wonderful depth.  This recipe is definitely a keeper.

As I have added both coffee and hazelnuts to the original recipe, it can’t really be called an Italian Hazelnut Cake, but it can be called a Shropshire Mocha Hazelnut Cake.

200g hazelnuts, with their skins still on preferably
50g good quality chocolate
1 tsp baking powder
2tsp instant coffee powder, mixed with 2 tsp of hot water
100g softened butter
5 eggs, separated
175g caster sugar
pinch of salt

Method

Grease and line a 20cm round cake tin.
Place the hazelnuts, chocolate and baking powder in a food processor and whizz into fine crumbs.  Add the butter and whizz again until just mixed.

In a large bowl, beat the egg yolks and the sugar together until the mixture has the texture of a mousse and the whisk leaves a trail when lifted out.

Add the coffee and the hazelnut mixture and beat until combined.

In a very clean bowl, whisk the egg whites and the pinch of salt together until stiff. Then add one-third of the egg whites to the other ingredients and stir well to combine and lighten the mixture.  Add the remaining egg whites in two batches, folding in carefully to retain as much air in the mixture as possible.

Pour the mixture into the cake tin and bake in a preheated oven at 170°c, gas mark 3, or with the oven rack on the lowest set of runners in the Baking Oven of the Aga for about 1 hour or until the cake is firm on top and a skewer will come out clean when it is inserted into the cake.

Leave to cool for 15 minutes in the tin and then turn out onto a wire rack to cool completely.


Mocha Hazelnut Cake Read More »

Baked jam roly poly

I have wanted to make jam roly poly for ages but haven’t got round to it.  You can either steam it, wrapped in a cloth in a bain marie, or you can bake it like I did on Sunday.  I decided to bake it because it needs 3 hours of steaming and when I am cooking Sunday lunch I need all four ovens of my Aga available for action. The steaming pudding would have taken up quite a bit of my simmering oven.  Anyway,I prepared it early on and cooked it early and then kept it warm covered in foil in the warming oven.  I wouldn’t do this again though, it would have been better, I think, fresh out of the oven.  Oh well, I live and learn.

I made proper custard to go with it, and it was an enjoyable change to the sunday dessert menu. Next time, I will try steaming it and see which version I prefer.

I used Hugh Fearnley Whittingstall’s recipe in the The River Cottage Year as a guide, but adapted it to be baked rather than steamed and because I had 200g of suet, not 250g as HFW’s recipe calls for.

You can make this vegetarian by using the vegetarian suet that is available. You can also try different fillings, maybe mincemeat, or syrup with raisins and sultanas and a bit of chopped apple (ooh that sounds good, I might do that next time).

My mum had made strawberry jam from the piles of summer strawberries in her freezer, so that was the obvious choice for me, but I wonder what a marmalade roly poly would be like?

200g (8oz) shredded suet
400g (16 oz) self raising flour
pinch of salt
about 200-250ml cold water

Jam or filling of your choice (I used about half a jar of strawberry jam)

Method

In a large bowl mix the suet, flour and salt together and pour in 200ml of water to begin with and mix to a stiff but manageable dough.  You may need to add more water to achieve this.

Flour a work surface.  Shape the dough into a square and then roll into a rectangle until the dough is about 1 cm thick.  Spread the jam or filling, leaving a good margin around the edge.  Brush the margin with a little water, then fold over the edges of the dough all around to seal in the filling.

Then roll from the short edge like a swiss roll, sealing with a little water.

Place on a baking tray seal-side down and place in a preheated oven at 180°c for 30-40 minutes until golden brown. Serve warm with custard.

Baked jam roly poly Read More »

Chocolate marmalade biscuits

You may know about the masses of marmalade I made, and the cake I made with it. Well, I wondered what it would be like in a biscuit.  It turns out that marmalade is very nice in a biscuit.  It adds a bitter depth that is really quite addictive.  I know, I know, I really shouldn’t eat three with one cup of tea (again!).

You could chop up the pieces of peel if you like, but I didn’t because I wanted to enjoy the chunkiness in the biscuit.  If you really wanted to spoil yourself you could add 50g (2oz) of chopped chocolate into the mix as well.

100g (4oz) softened butter
75g (3oz) light brown sugar
1 egg
3 tbsp marmalade
125g (5oz) spelt flour (or you could use wholemeal or plain)
50g (2oz) ground almonds
25g (1oz) cocoa powder
2 tsp baking powder

Method

Beat the butter and the sugar until light and fluffy.  Add the egg and beat again until well combined. Stir in the marmalade. Add the flour, almonds, cocoa and baking powder and stir until it forms a stiff dough.

Place spoonfuls of the mixture onto a greased or non stick baking sheet (you will probably need two).  Place in a preheated oven at 180°c, gas mark 4, or the Baking Oven of the Aga for 10-12 minutes until they are firm on the top. Leave to cool on the tin for a couple of minutes and then transfer to a wire rack to cool completely.

Chocolate marmalade biscuits Read More »

Chicken pie

We had the leftovers from a roast chicken in the fridge and I needed a dinner that could be prepared ahead and then put in the oven half an hour before we wanted to eat.  This chicken pie was the result.  It was rich and creamy and delicious and probably the best chicken pie I have made yet.

For the pastry top:

75g (3oz) cold butter
150g (6oz) plain, all purpose, flour
3-4 tbsp of very cold water

For the filling:

Glug of olive oil
1 onion, diced
3 sticks of celery, diced
4 carrots, peeled and diced
1-2 rashers of bacon (optional)
The leftovers from a cooked chicken ( I used the meat from a leg and about half a breast worth off the carcass, but this was a big chicken from the butchers to begin with)
2 tbsp plain, all purpose, flour
glug of sherry or madeira (optional)
350ml stock
100ml cream
1 tsp dried mixed herbs
salt and pepper

Method

Make the pastry by placing the flour and butter in a food processor and whizzing until it looks like breadcrumbs.  Add the water (you may need less or more, so take care) and whizz until it just comes together.  Be careful not to overmix.  If you don’t have a food processor, place the flour in a bowl and add the butter in cubes.  Rub the butter and flour together using the very tips of your fingers and lifting the flour up high to incorporate air. When it looks like breadcrumbs mix in the water using the blade of a knife and then form into a ball when it starts to come together.  Try not to handle the pastry too much.

Wrap the pastry in cling film or a plastic bag and chill in the fridge.

Fry the onion, carrot, celery and bacon (if you are using it) in the olive oil until the onion is translucent, the celery and carrots are tender and the bacon is cooked.  Add the chicken and then the flour and stir to mix well.  Leave to cook for a minute or two to cook the flour and then add the sherry or madeira if you are using it and stir well.  Add the stock gradually, stirring all the time to incorporate the flour and prevent lumps.  Let this bubble away for five minutes.  Add the cream and stir well to combine.  Add the herbs and salt and pepper to taste.

Put this mixture into a pie dish.  Wet the edges of the pie dish.  Roll out the pastry to fit the dish.  Seal the pastry with your fingertips all round the edge of the dish.  Make a hole in the centre with a small knife to allow steam to escape and brush with milk or egg wash.  Cook in a preheated oven at 200°c (gas mark 6) or the Roasting oven of the Aga for about 30 minutes, until the pastry is golden brown all over.

You could serve this with a green veg, but it is not really necessary.

Chicken pie Read More »

Mini chocolate muffins

We went swimming straight from school last night.  We went last week, and I was under prepared for just how hungry small children can get after an hour in the pool.  The result was that last week I was coerced into buying two chocolate muffins from the vending machine.  Apart from the cost of this, the bought muffins have an unfeasibly long shelf- life (what can they put in them?).  They are also so big, sweet and cloying that they only get half eaten and the rest ends up stamped into the carpet in my car.

So, yesterday I planned ahead and made these with the help of the youngest. They take ten minutes to make and ten minutes to cook and are light and fluffy. Being smaller, two can be eaten in succession without too many crumbs ending up on the floor. Happiness all round.

You can make them into double chocolate muffins like I have by adding chunkily chopped chocolate into the mix, or you can leave this out.  The big lumps of squidgy chocolate are very tasty though.

Dry ingredients
125g plain flour
25g cocoa powder
1 tsp baking powder

Wet ingredients
1 egg
50g sugar
25g butter, melted
100ml milk

50g chocolate chopped

Method

The key to a good muffin is not to over mix and I have taken on board Delia Smith’s tip that the dry ingredients benefit from being sifted twice to maximise the air in the mix.

Sift the dry ingredients together into a bowl.  In another large bowl mix together all of the wet ingredients. Sift the dry ingredients over the wet ingredients and add the chopped chocolate.  Mix very briefly, for no more than 15 seconds.  It will look as if you haven’t mixed it properly, don’t worry because it should look like this.

Spoon heaped teaspoonfuls into 12 fairy cake cases in a patty tin. Place in a preheated oven at 180°c, gas mark 4 or near the top of the Baking Oven of the Aga for 8-10 minutes until firm on top.  Place the cakes on a wire rack to cool.

Mini chocolate muffins Read More »