theordinarycook

The Ordinary Cook loves to cook. If I am not cooking or baking then the chances are I am thinking about cooking and baking. I love sharing recipes and ideas and my website is my space to do this.

Bread and butter pudding

This was one of the first recipes I wrote on this blog, way back when I started in September 2009. I think this might be a reflection of how much I love bread and butter pudding. It is a fantastic way to use up that staling loaf. With my bread courses I tend to have quite a bit of bread staling on the bread board so I am always thinking up new ways to use leftover bread.

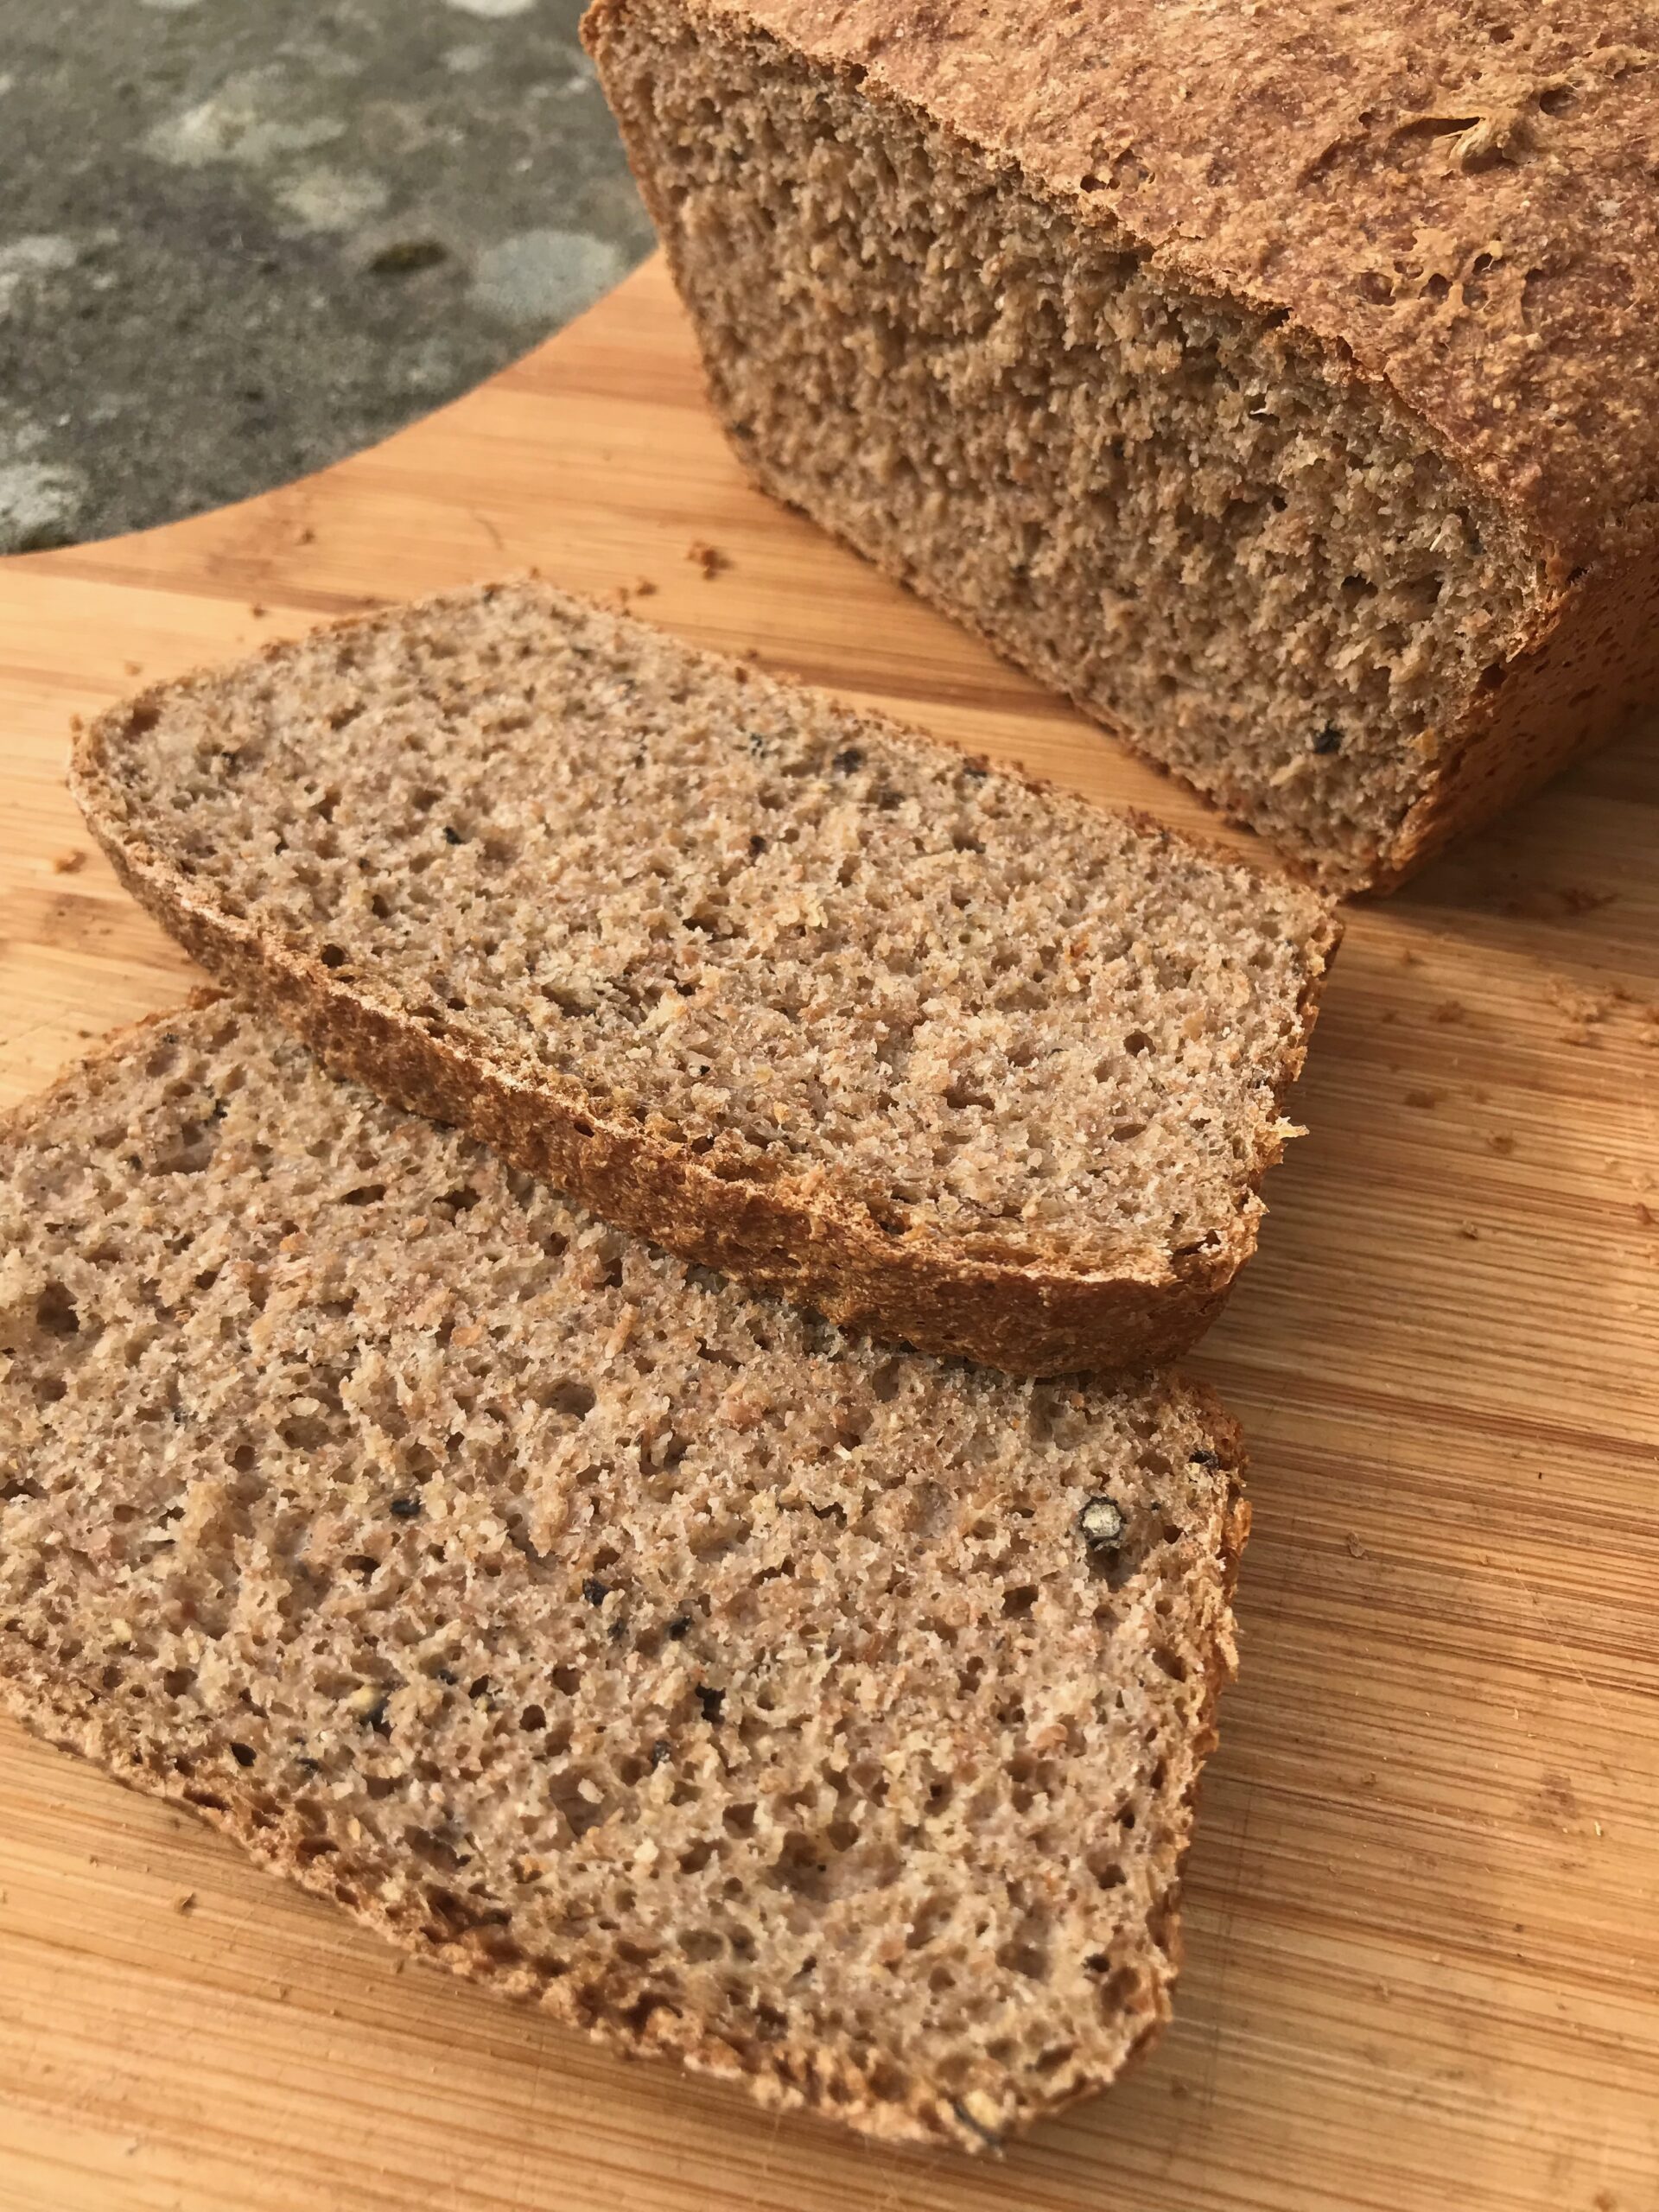
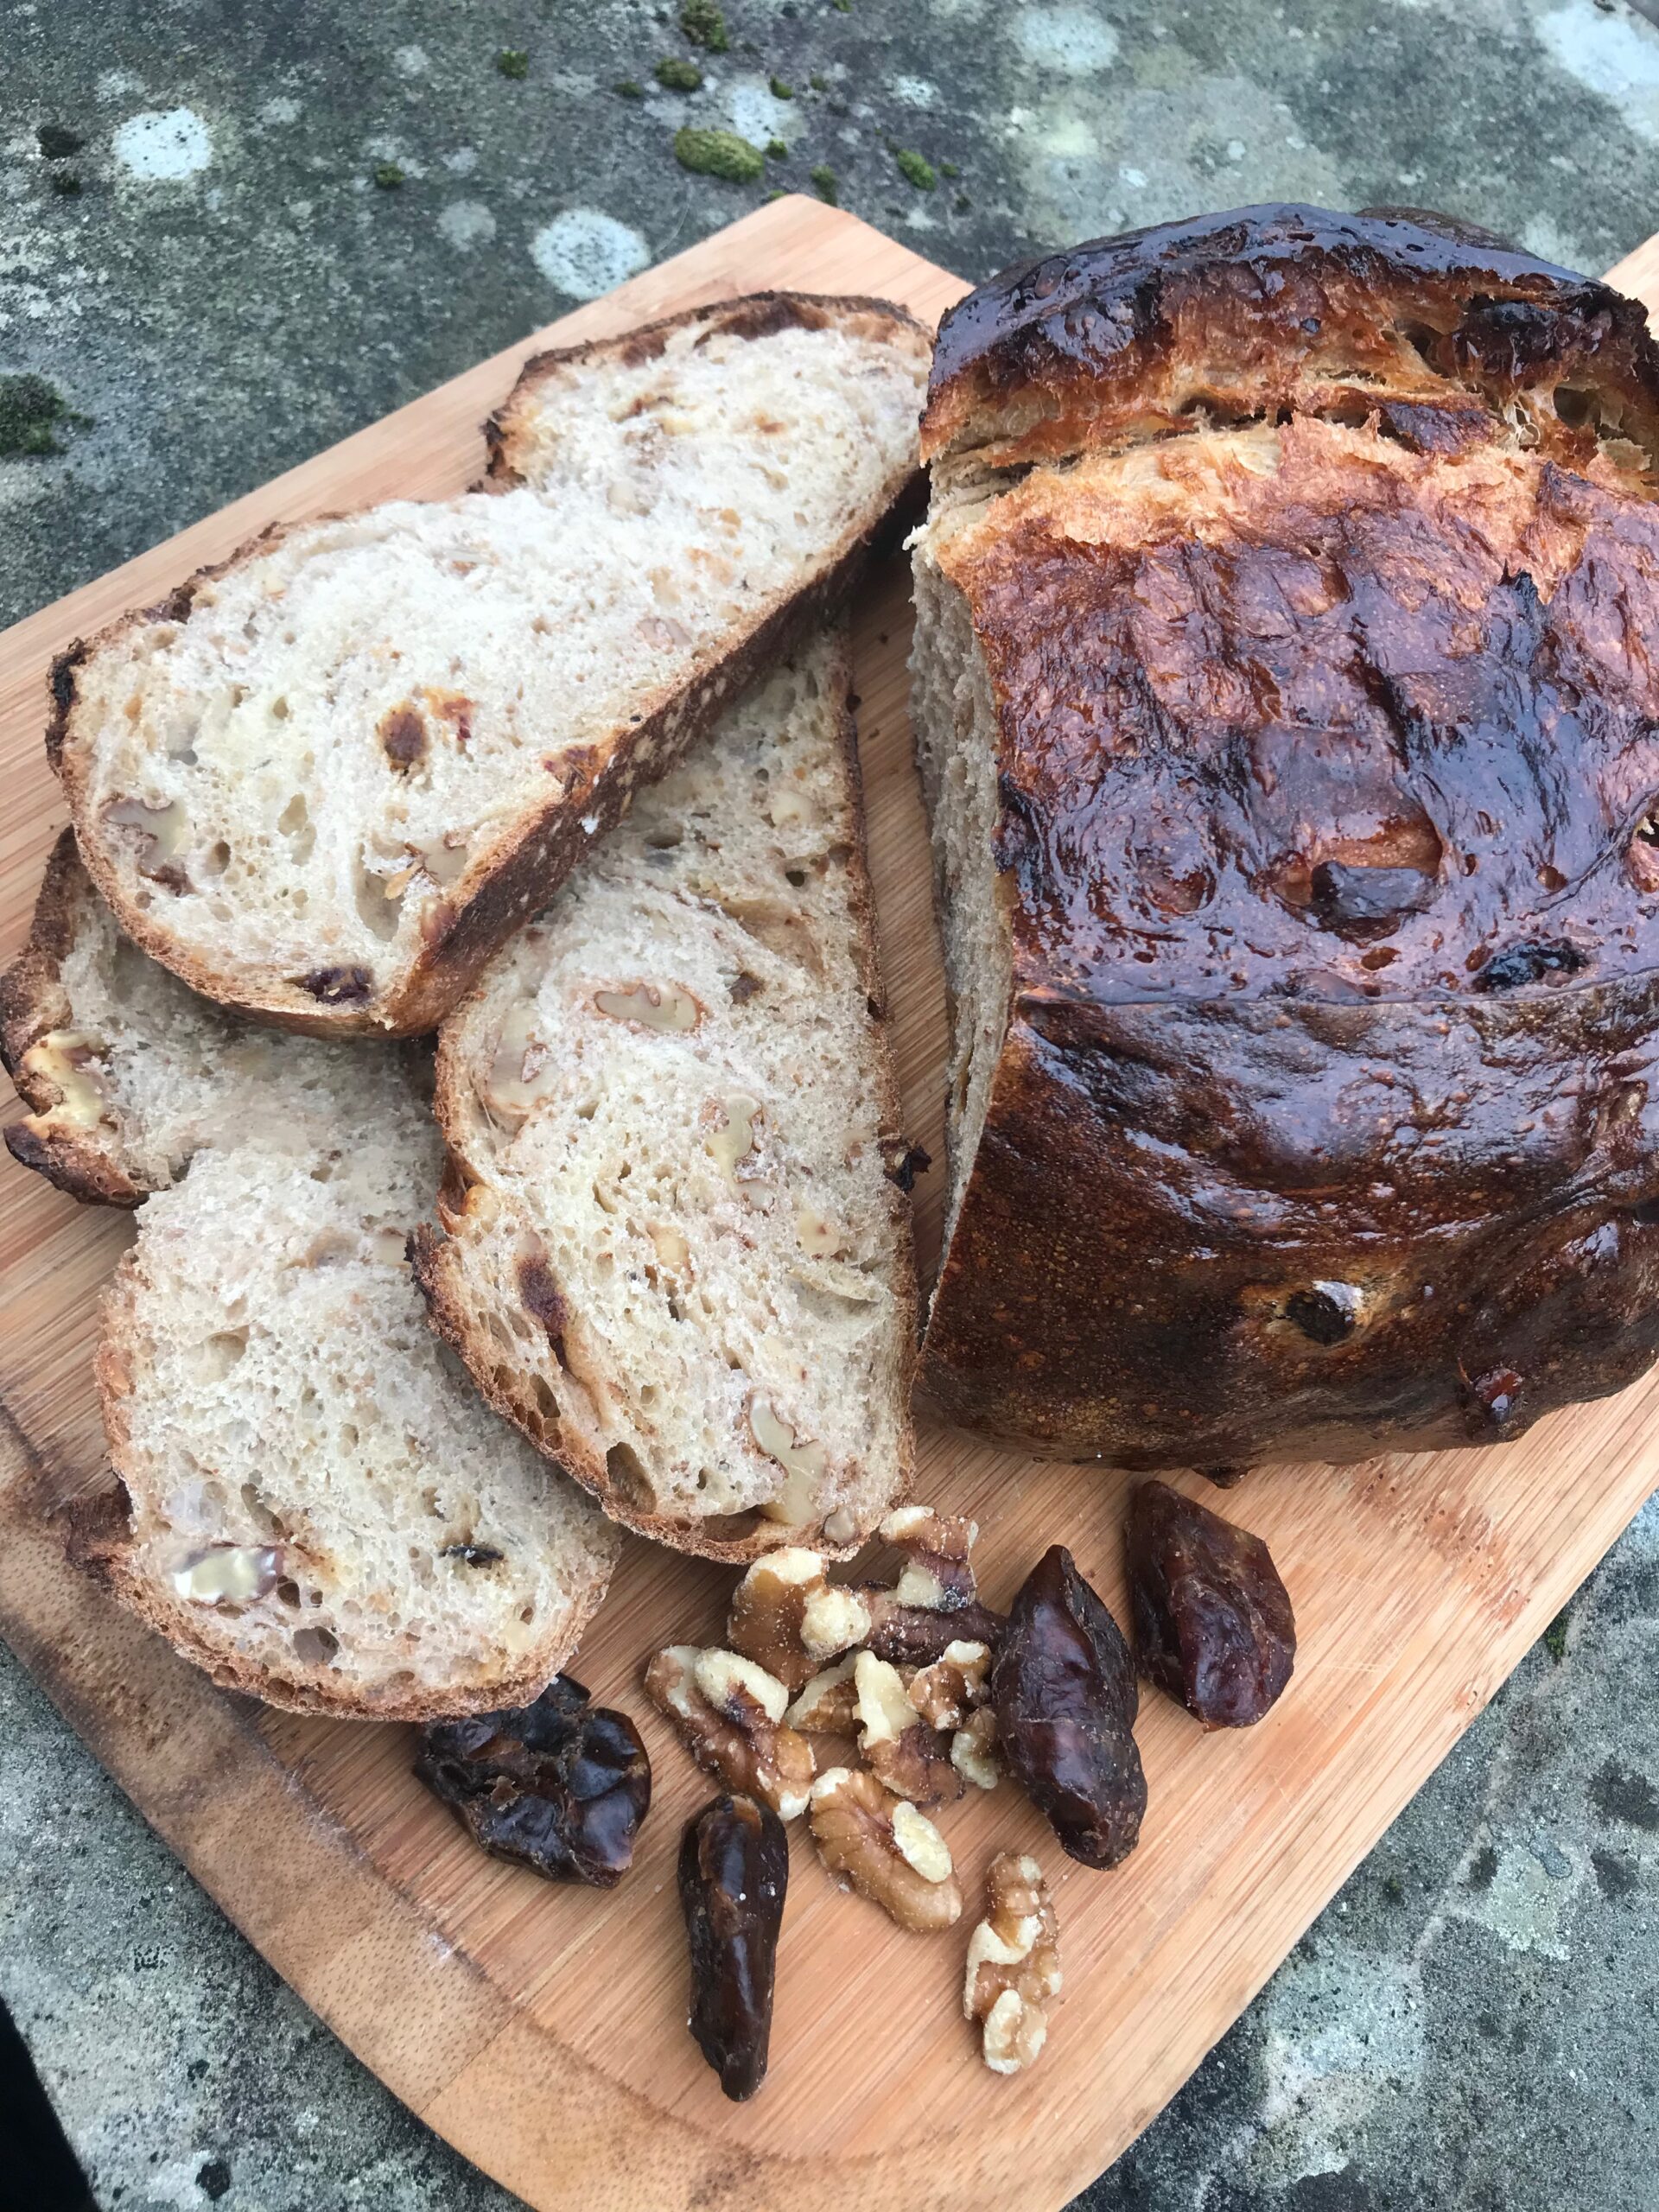
There is lots of potential for varying this recipe. You can spread jam or marmalade on the slices or add some frozen (or fresh) berries or chocolate chunks instead of the dried fruit, but this is the recipe that I used to love as a child. You don’t need to be precise about the amount of bread you use, this recipe is all about using whatever you have leftover. If you use more or less than in this recipe then you may need to add or take away an egg in the custard. I have made bread pudding with left over croissants, brioche, fruit bread, walnut bread – basically any bread that you may have left over.

Ingredients

6-7 slices of stale bread
Approx 50g softened butter
3-4 tablespoons of light brown sugar
50-100g dried fruit (depending on how much you like in your pudding)
3 large eggs
500ml full fat milk

You will need an oven proof dish that will comfortably hold the slices of bread with room for the custard.

Method

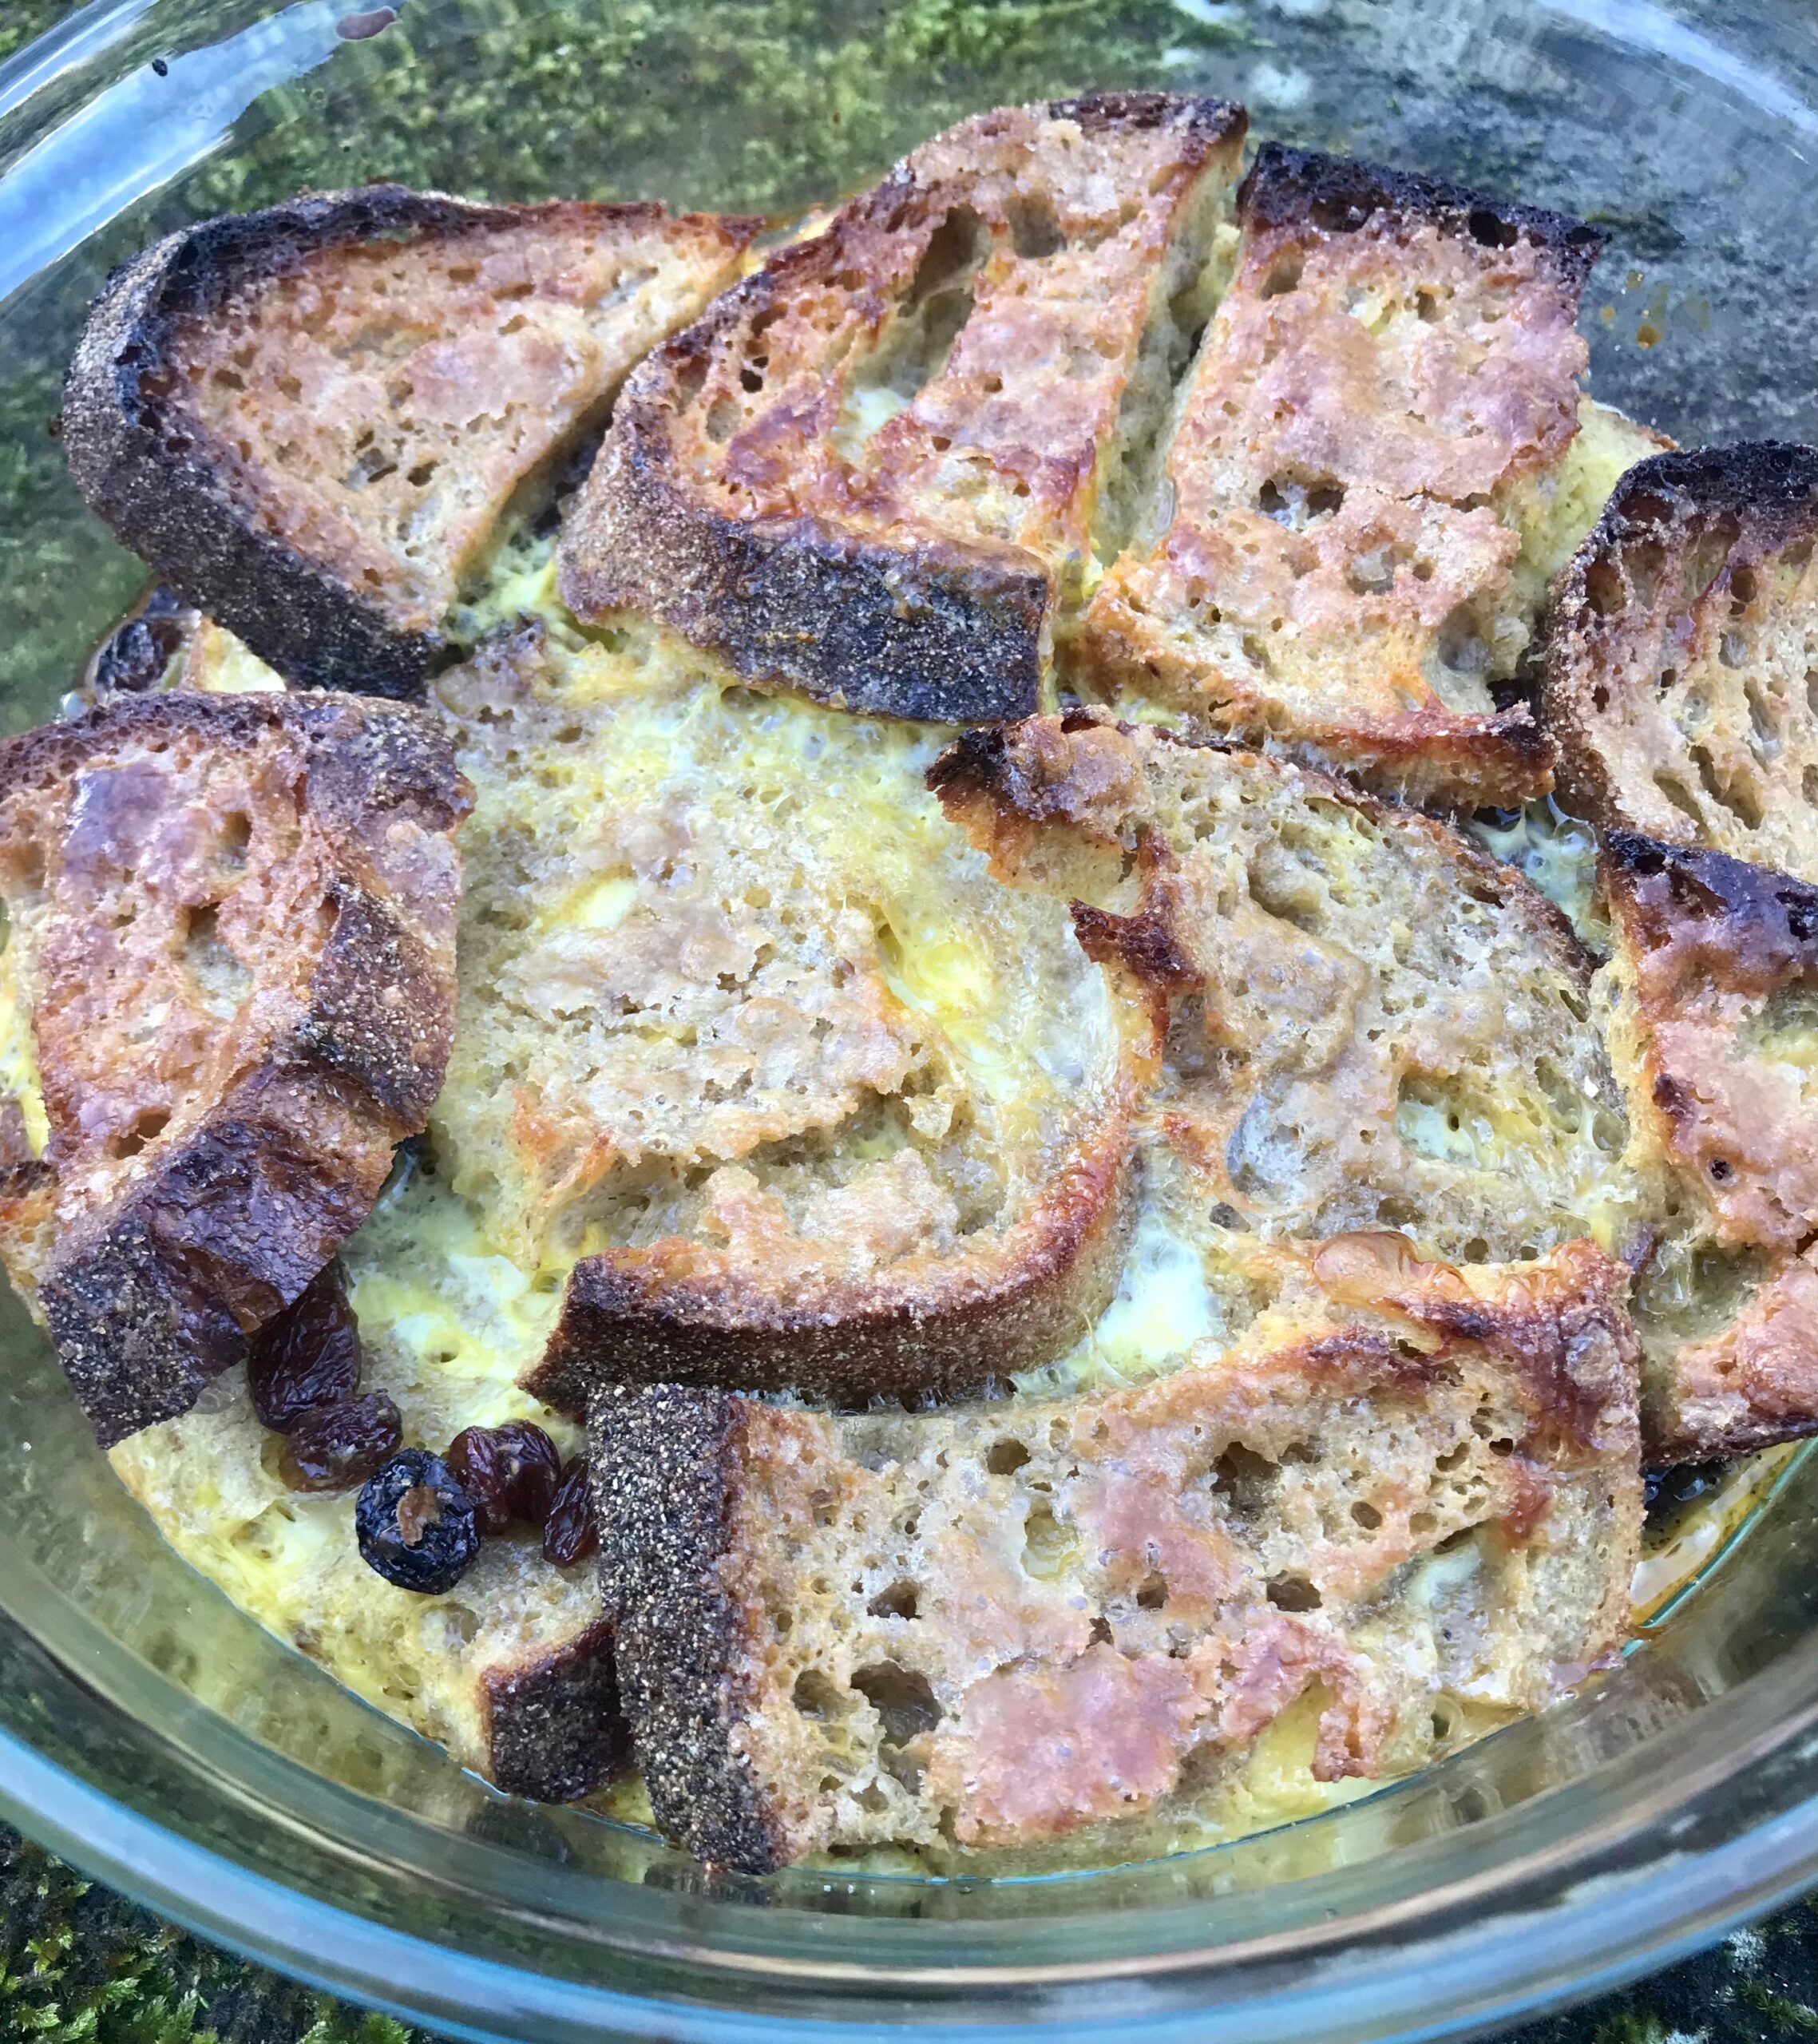
Butter the slices of bread generously with butter. Lay half the slices in the ovenproof dish. Sprinkle two tablespoons of sugar and the dried fruit over the bread. Top with the remaining slices of bread. Beat the eggs and milk together in a jug. Pour the custard over the bread. Sprinkle more sugar over the top of the pudding.

Allow the pudding to sit for at least 30 minutes so that the custard can soak into the bread.

Preheat the oven to 180C, 350f, gas mark 4. Bake the pudding for 30-40 minutes until the custard is set and the top is golden brown.

Ready to learn more?

I have an online course that shows you other ways to use up your leftover bread. So, if you are as obsessed with bread as I am and end up with a staling loaf at the same time as you are fetching a fresh loaf out of the oven then this might be the course for you.

Using up left over bread online course

Bread and butter pudding Read More »

Fruit cobbler

This makes a fabulous dessert when the weather turns a bit cooler in the autumn. This year has been a bumper year for homegrown apples. If you are lucky enough to have an apple tree in the garden or a local community orchard and you have managed to forage for blackberries, then this a real treat. It works well with any fruit though, including a tin of peaches.

fruit cobbler

The scones on the top are so beautifully light and airy that it feels like you are eating a delicious, sweet cloud. To achieve this airiness the dough needs to be quite sticky.

This one fed 6 people, you can adjust up and down accordingly. My dish measures 30cm x 20cm.

For the fruit:

NB. You can use any fruit for your cobbler. Soft fruit such as berries may not need pre-cooking as they will cook along with the cobbler. Fruit such as apples and pears may need pre-cooking so that they are lovely and soft by the time the cobbler is baked. If you aren’t sure then pre cook the fruit. No harm will come to fruit if it is a little over cooked. 

3 Bramley apples ( you can use any cooking apple)
2 large handfuls of blackberries (I used frozen)
40g sugar (I like the contrast of tart fruit with the sweet cobbler topping)

For the cobbler topping:

120g plain flour
1 teaspoon baking powder
½ teaspoon bicarbonate of soda
60g milk with 1 tsp lemon juice added/ buttermilk/ yoghurt
40g soft brown sugar
60g unsalted butter, cold and cut into cubes

Extra milk and sugar for topping

Method

Mix the fruit and sugar together. You can stew the fruit in a preheated oven at 180C, gas mark 4, 390F for 30-35 minutes until the apple still has some resistance. You can also stew in a medium sized pan over a medium heat. It will take about 15-20 minutes. See the notes above. Place the fruit in an oven proof dish. 

Mix the milk and lemon juice together. The lemon juice adds the acidity that the bicarbonate of soda needs to aid rising.

For the cobbler, place the flour, baking powder, bicarbonate of soda and sugar in a large bowl. Add the butter and rub the butter through the flour. Lift a little butter and flour between your fingertips very briefly and drop back into the bowl. Lift up the next bit and repeat until the butter has been thoroughly distributed through the flour. 

Add the milk to the flour mixture and stir in using a knife until it starts to come together as a dough. It should be a sticky mixture as it is this that helps to create a lovely soft, airy cobbler. 

Flour the work surface lightly, turn the dough onto the floured surface and sprinkle with a little more flour. Roll out a little and cut into rounds using a cutter. Place the rounds on top of the fruit. 

Bake in a preheated oven at 180C, gas mark 4, 390F for about 30 minutes until the cobbler topping is golden brown.  Serve warm or cold with cream, custard or ice cream. 

Ready to learn more?

This recipe is just one that is included in my online courses. You can get access to all of my online courses when you become a Bread Made Easy Member.

Bread Made Easy Membership

Fruit cobbler Read More »

Black Pepper Wholemeal Bread

I have been meaning to make this bread for a long time. I was prompted to do it this week after researching cracker recipes for my live online demo for my membership. One of the cracker recipes contained a healthy amount of freshly ground black pepper and they tasted great. They reminded me that I wanted to try freshly ground black pepper in a loaf.

The result is zingy and hot. You experience lots of little explosions in your mouth as you bite into the tiny lumps of fiery-hot peppercorns. It’s a great bread for those that love a spicy kick to their food. We enjoyed it with a pasta bean bake and again with marmalade for this morning’s breakfast.

You can add the peppercorns to any bread recipe that happens to be your favourite – white, wholemeal, focaccia etc. I used 10g for 500g of flour and this gives the loaf a good dose of heat. I also ground them in a pestle and mortar to get an uneven grind. That way the very finely ground pepper mixes well with the flour and you have the occasional bite of a larger piece, like the one in the photo below.

black pepper wholemeal bread

Ingredients

500g wholemeal flour
5g easy bake/ instant/ fast action yeast or 15g fresh yeast
5-10g fine sea salt
5-10g freshly ground black pepper
between 380-420g water

Method

Place the flour, yeast, pepper and salt in a bowl and mix through. Pour in 340g water and start to mix. You will need more water. As the dough starts to come together splash in small amounts of water and mix until the dough has a soft, slightly sticky consistency and there are no dry bits. Keep on squeezing the dough for another minute or so to make sure the flour is fully hydrated. 

Cover with a proving cloth or shower cap and leave to rest for at least 10 minutes, up to an hour. Uncover and do the first round of stretch and fold. Leave to rest again for at least ten minutes. Do a second round of stretch and fold. 

Cover and leave to ferment for at least an hour to get light and filled with air. You could put it in the fridge overnight at this stage. 

When airy and light, shape and leave to ferment again. You could place it in the fridge for several hours or overnight. 

Preheat the oven to 220C, 425F, gas mark 7. When the loaf is fully proofed (see video) bake for 30-40 minutes depending on your oven. Check that it is fully baked by placing an internal thermometer in the centre of the loaf. It should read at least 88C for the loaf to be fully baked. The loaf should be golden all over and feel light. 

Leave to cool on a wire rack for at least an hour before slicing.

The video below shows you how to make a wholemeal loaf.

Ready to learn more?

Subscribe to my membership to learn more about bread. Click on the image below to find out more.

Bread Made Easy Membership

Black Pepper Wholemeal Bread Read More »

Flour Tortilla

If you haven’t made flour tortillas at home yet you are missing out on a treat. They taste so much better than anything you will be able to buy in the shops. Whilst we are on the subject why and how do packaged tortillas have such a long use by date? It’s scary.

These are also great if you find you could do with some bread but you haven’t got any. They are quick and easy to rustle up.

Ingredients

250 plain (all purpose) white flour
5g fine sea salt
25g oil
130g water

Method

Place all of the ingredients in a bowl and mix well. Knead in the bowl for 1-2 minutes. Cover and then leave to rest for at least thirty minutes. 

Divide into 6-8 pieces and roll out very thinly on a lightly floured surface until they are almost translucent. 

Heat a pan until hot. Cook the tortilla. When it starts to change colour to a golden yellow and starts to puff, hold a ruched up clean cloth on the surface of the dough to force it to fill with air. 

Flip the tortilla and cook on the other side for a few seconds. Place onto a plate and cover with a clean cloth to steam and stay soft. 

These freeze well. To reheat either wrap in foil and heat in an oven or place in a covered pan over a warm heat. 

They make the most delicious tortilla chips.

You can watch me make these in the video below. If you want to learn how to make the tortilla chips or about how to make other flatbreads scroll down to find out more about my online course.

Ready to learn more?

You can subscribe to my Bread Made Easy membership to learn how to make a variety of Flatbreads plus a whole lot more about bread.

Bread Made Easy Membership

Or you can buy my online Flatbreads course as an individual course

Flatbreads online course

Flour Tortilla Read More »

Date & Walnut Loaf

This is a favourite in our house and a recipe that I teach on my Bread Basics course at my cookery school Veg Patch Kitchen. I have been filming how to make it for my new online Sweet Dough course and want to share it with you so that it can become a favourite in your household too.

It is a simple white dough with added dates, walnuts and honey and is delicious toasted for breakfast. It stays good for toasting for several day.

date and walnut loaf
Date & walnut loaf

Ingredients

500g strong white flour or 250g white bread flour and 250g wholemeal bread flour
100g walnuts
100g dates
20g runny honey
10g salt
1 sachet of easy bake yeast or 5-10g fresh yeast
320-340g water (in total, add 100g with the dates and 220-240g later)

Equipment:

3 bowls, scales, knife, chopping board, proving cloth or shower cap, loaf tin or baking tray, cooling rack

Method: 

Finely chop 25g of the walnuts and coarsely chop the rest. Chop the dates and cover with 100g of boiling water. Leave to stand until the water is tepid. 

Place the flour, salt and yeast (keep the salt and yeast separate) in a large bowl. If using fresh yeast crumble it into the flour.  Add the walnuts and honey.  Drain the dates but reserve the soaking water. Place the soaked dates in the bowl with the rest of the ingredients.  Measure the reserved water into the bowl and then add more water until you have 320g of water in the bowl.  

Using a clawed hand mix well, the dough should be on the sticky side. If it still feels dry add a bit more water until it feels softly sticky.  Leave to rest and use the stretch and fold method as described in this video

Once you have done all of the stretch and folds, leave to prove until light and airy. Preheat your oven to 200℃, gas mark 6, placing a solid tray on the shelf to heat up.  Tip the dough out of the bowl onto a lightly floured surface, shape and leave to rise again until ready for the oven. Place your bread onto the solid tray and bake for 30-40 minutes until a rich brown and sounds hollow when tapped or has an internal temperature of at least 88℃. Leave to cool on a wire tray.

If you like you can glaze this loaf with a simple sugar syrup as soon as it comes out of the oven. This gives it a lovely shine. Place 25g sugar and 25g water in a small pan and bring to a simmer. Simmer for a few minutes. Brush this all over the top of the loaf as soon as you turn it onto the cooling rack. (You may want to place some kitchen roll or baking parchment underneath to catch the drips). 

Ready to learn more?

If you would like to learn more about making sweet breads my online course can help. I show you how to master making an enriched dough and turn it into Shropshire butter buns, Chelsea buns, babka and cinnamon knots. You will also learn how to make buttery brioche and fruity spiced teacakes.

Date & Walnut Loaf Read More »

Christmas Recipes

I have been looking back in my recipe archives of this site to remind me of Christmases past. There are such a lot of recipes on here, some of which I make over and over, some I need to make again.

As I remind myself I thought it might be a good idea to share them with you in case you want to make them to share with your family and friends this year.

If you want to make presents then homemade candied oranges or candied peel are real treats. If I am making a hamper I also put spicy caramel nuts in a small jar and stem ginger truffles in a gift bag.

My mincemeat makes really good mince pies or for a change why not try mincemeat bars or my mincemeat wreath.

mincemeat bars

If you have guests coming then my sausage and sage pie is wonderful on the buffet table and my ham is one from Dorothy Hartley’s 1950’s recipe book and is really good. Left over ham is fantastic in a fidget pie.

If you are making biscuits with children over Christmas then these painted Christmas biscuits make for a fun activity or you could try my stained glass biscuits that look great on a tree.

For the big day, if you have an Aga or similar then my Aga turkey makes the best one you will ever taste. For the vegetarians then my mushroom wellington makes for a delicious feast. For pudding you could choose my chocolate chestnut cake, chocolate roulade or chocolate and mint arctic roll.

Whatever you choose to make this year, I hope the preparations go smoothly and that you can spend time with family and friends. We are all hoping for a better Christmas than last year.

Christmas Recipes Read More »

Tahini Biscuits

These are deliciously light and melt in the mouth. They are also easy to make. You can keep the dough in the fridge for a few days, slicing off the biscuits as you want to bake them. This makes them great if you are expecting visitors.

The tahini I use is from Butterbelle, handmade by Zoe and her team here in the Ironbridge Gorge. It’s definitely the best tahini I have ever tasted. There is no bitterness, which can be a problem with some of the tahinis I have tried before. It makes the most delicious hummus, which is what I really buy it for. I was wondering what biscuit I should serve at yesterday’s Sweet Dough course and the jar of tahini was sitting on the side beckoning to me. I hadn’t tried baking with it before but I am really glad I did. If you try these you are in for a real treat.

Ingredients

Makes about 25 biscuits

150g unsalted butter, at room temperature
100g soft brown sugar
100g tahini (sesame seed paste)
175g wholemeal spelt flour (you can use any wholemeal flour)

Method

Beat the soft butter and the sugar together until they are pale and fluffy. Stir in the tahini and the flour. You should have a fairly stiff dough. Wrap in clingfilm or greaseproof paper and roll into a sausage shape. The dough will now happily sit in the fridge for a few days. When you want to bake the biscuits, cut 1cm slices from the dough and place onto a non stick baking sheet. Preheat the oven to 180C, 350F, gas mark 4 or use the centre of the baking oven of the 4 oven Aga and bake for 10-15 minutes ( depending on your oven) until golden brown all over. Leave to cool for a few minutes on the baking tray as they are very fragile when still warm. Once they have cooled a little place on a wire rack to cool completely.

Tahini Biscuits Read More »

Chilli and Tomato Chutney

Chilli and Tomato Chutney

We cleared the tomatoes out of the greenhouse and they needed using up. I had a mixture of ripe and green tomatoes. This Chilli and Tomato Chutney makes perfect use of them.

green and red tomatoes

I like to cook the onion in a little olive oil first to soften and sweeten it, but you can miss this step out if you prefer and just pop everything in a saucepan and simmer until thick.

Ingredients

I tbsp olive oil (optional, only needed if you want to sauté the onion first)
1 onion, chopped into small dice
4 garlic cloves
half teaspoon of salt
4 chillis (deseeded)
5cm fresh ginger (root)
1 star anise
1tsp black mustard seeds
1 tsp coriander seeds
500g tomatoes (more or less, don’t worry if you have a few more or a few less than this)
250g sugar (you can use soft brown for a darker colour and stronger taste or granulated white)
150ml vinegar (you can use whichever variety you have in the cupboard, I used distilled white vinegar)

Method

If you would like to soften the onion, add the oil to a large pan over a medium heat and sauté the chopped onion until soft, translucent and beginning to colour.

Chop the garlic, chillis, ginger and tomatoes finely. I whizzed them in the food processor using the metal blade.

When the onion is ready add the star anise, coriander seeds and mustard seeds and fry for another minute then add the chopped garlic, ginger, chillis and tomatoes. Stir in the sugar and the vinegar and bring to a boil. As soon as it boils, lower the heat and simmer until it has reduced to a thick consistency which very little extra liquid. This took 40 minutes for me, it may take less or longer for you.

Sterilise some jars. This amount filled two jars for me. Once the chutney has thickened take it off the heat and leave it to cool for about twenty minutes before carefully spooning the mixture into clean jars and sealing.

The chutney is good to eat straightaway but the vinegariness will soften if it is allowed to sit for a week before eating.

Chilli and Tomato Chutney Read More »

How to make bread at home

Long time readers will know that this blog is a bit of a neglected spot because I run a cookery school teaching people how to make bread.

So, if you have ever felt frustrated with your lack of success with making bread then let me help you. I can also reassure you that I was once exactly the same. When I first tried to make bread I was hopeless at it. In fact, that is recorded in one of my first blog posts that I shared on here. You can read all about my first attempts at making a reasonable loaf here. I wrote then that I thought practice helped and I can confirm that it definitely does. If you had told me back then that I would have started to teach other people to make bread in 2015 setting up my own cookery school I would have looked at you as if you were a fool. It’s funny how life turns out.

If you would like to banish your own fears about bread making then taking my online masterclass will do exactly that. It takes you through the bread making process step by step and because it is pre-recorded videos, text based lessons and a workbook you do at your own pace and in the comfort of your own home. You can refresh your memory by going back and revisiting it as often as you like.

Here are a few of my videos from YouTube to get you started.

I hope these help you to start to conquer your bread fears.

How to make bread at home Read More »

Sourdough Discard Chocolate Brownies

sourdough chocolate brownies

I often make these brownies to serve with tea and coffee at my bread making courses in Ironbridge. This is the first time I have added sourdough discard to the recipe but it won’t be the last. The acidity of the discard boosts the rests of the flavours, making it taste sweeter and more chocolately. They are much lighter in texture than normal. They are delicious. 

If you don’t make sourdough bread and don’t have a starter then don’t worry you can still make these. I explain how below.

A Note on Sourdough Discard

My discard was about 20 hours old when I used it. I wouldn’t particularly using a discard from a starter that has been in the fridge for some time or if your starter is a bit neglected. If my starter is neglected or fresh from the fridge the best place for my discard is in my food waste bin. What I want is something that has a bit of acid but isn’t overloaded. Anything too acidic will overpower the taste of your bake.

This recipe proves that you can add discard to pretty much all your baking. I made my brownies in the normal way except for omitting the 25g flour that I normally add and just added my discard. The discard happened to weigh 150g today* but I think the recipe would have been fine with more or less. So feel free to add however much discard you happen to have. If you wanted to make these brownies without the discard then just add 25g plain flour with the cocoa powder. 

* I knew I was going to use it in a recipe today so I boosted my normal refresh a bit. My normal discard is between 50-100g.

No sourdough discard?

If you don’t have any sourdough starter then don’t worry you can still make these delicious brownies. My recipe without the discard just replaces the discard with 25g flour. You can use spelt, wholemeal or plain flour.

Ingredients

100g unsalted butter
50g chocolate (I normally use plain but today I used milk)
2 eggs (preferably organic)
225g soft brown sugar
50g good quality cocoa powder
150g sourdough discard (you can use more or less) If you don’t have any then add 25g flour
1 tsp baking powder
pinch of sea salt
50g chopped nuts of your choice (my favourite are pecans)

Method

Grease and line a 20cm square cake tin. Preheat the oven to 180C, Gas Mark 4, 350F or use the baking oven of a 4 oven Aga. 

Melt the butter and the chocolate in a heatproof bowl over a pan of simmering water. Make sure the bowl doesn’t touch the water or the chocolate will get too hot and seize. You can also melt the in the microwave by placing in a microwaveable bowl and pinging for 10 seconds at a time until they are almost melted and then stirring to finish the melting process.

Beat the eggs a little, just enough to add some air and it gets a bit foamy on the top (this helps with the crusty top that makes these so good). Stir the sugar, cocoa powder, sourdough discard, baking powder and salt into the eggs. Add the melted butter and chocolate mixture and the nuts and stir well to combine. Pour the batter into the cake tin and even the top. 

Bake for 20-25 minutes until the top is set but the batter is still wobbly underneath. The batter will firm up as the brownie cools. It is important not to overcook it, however tempted you may be to bake it for a few minutes longer. 

This recipe first appeared on my other website for my cookery school Veg Patch Kitchen. If you would like to learn more about my bread making courses you can click on the button below.

Sourdough Discard Chocolate Brownies Read More »