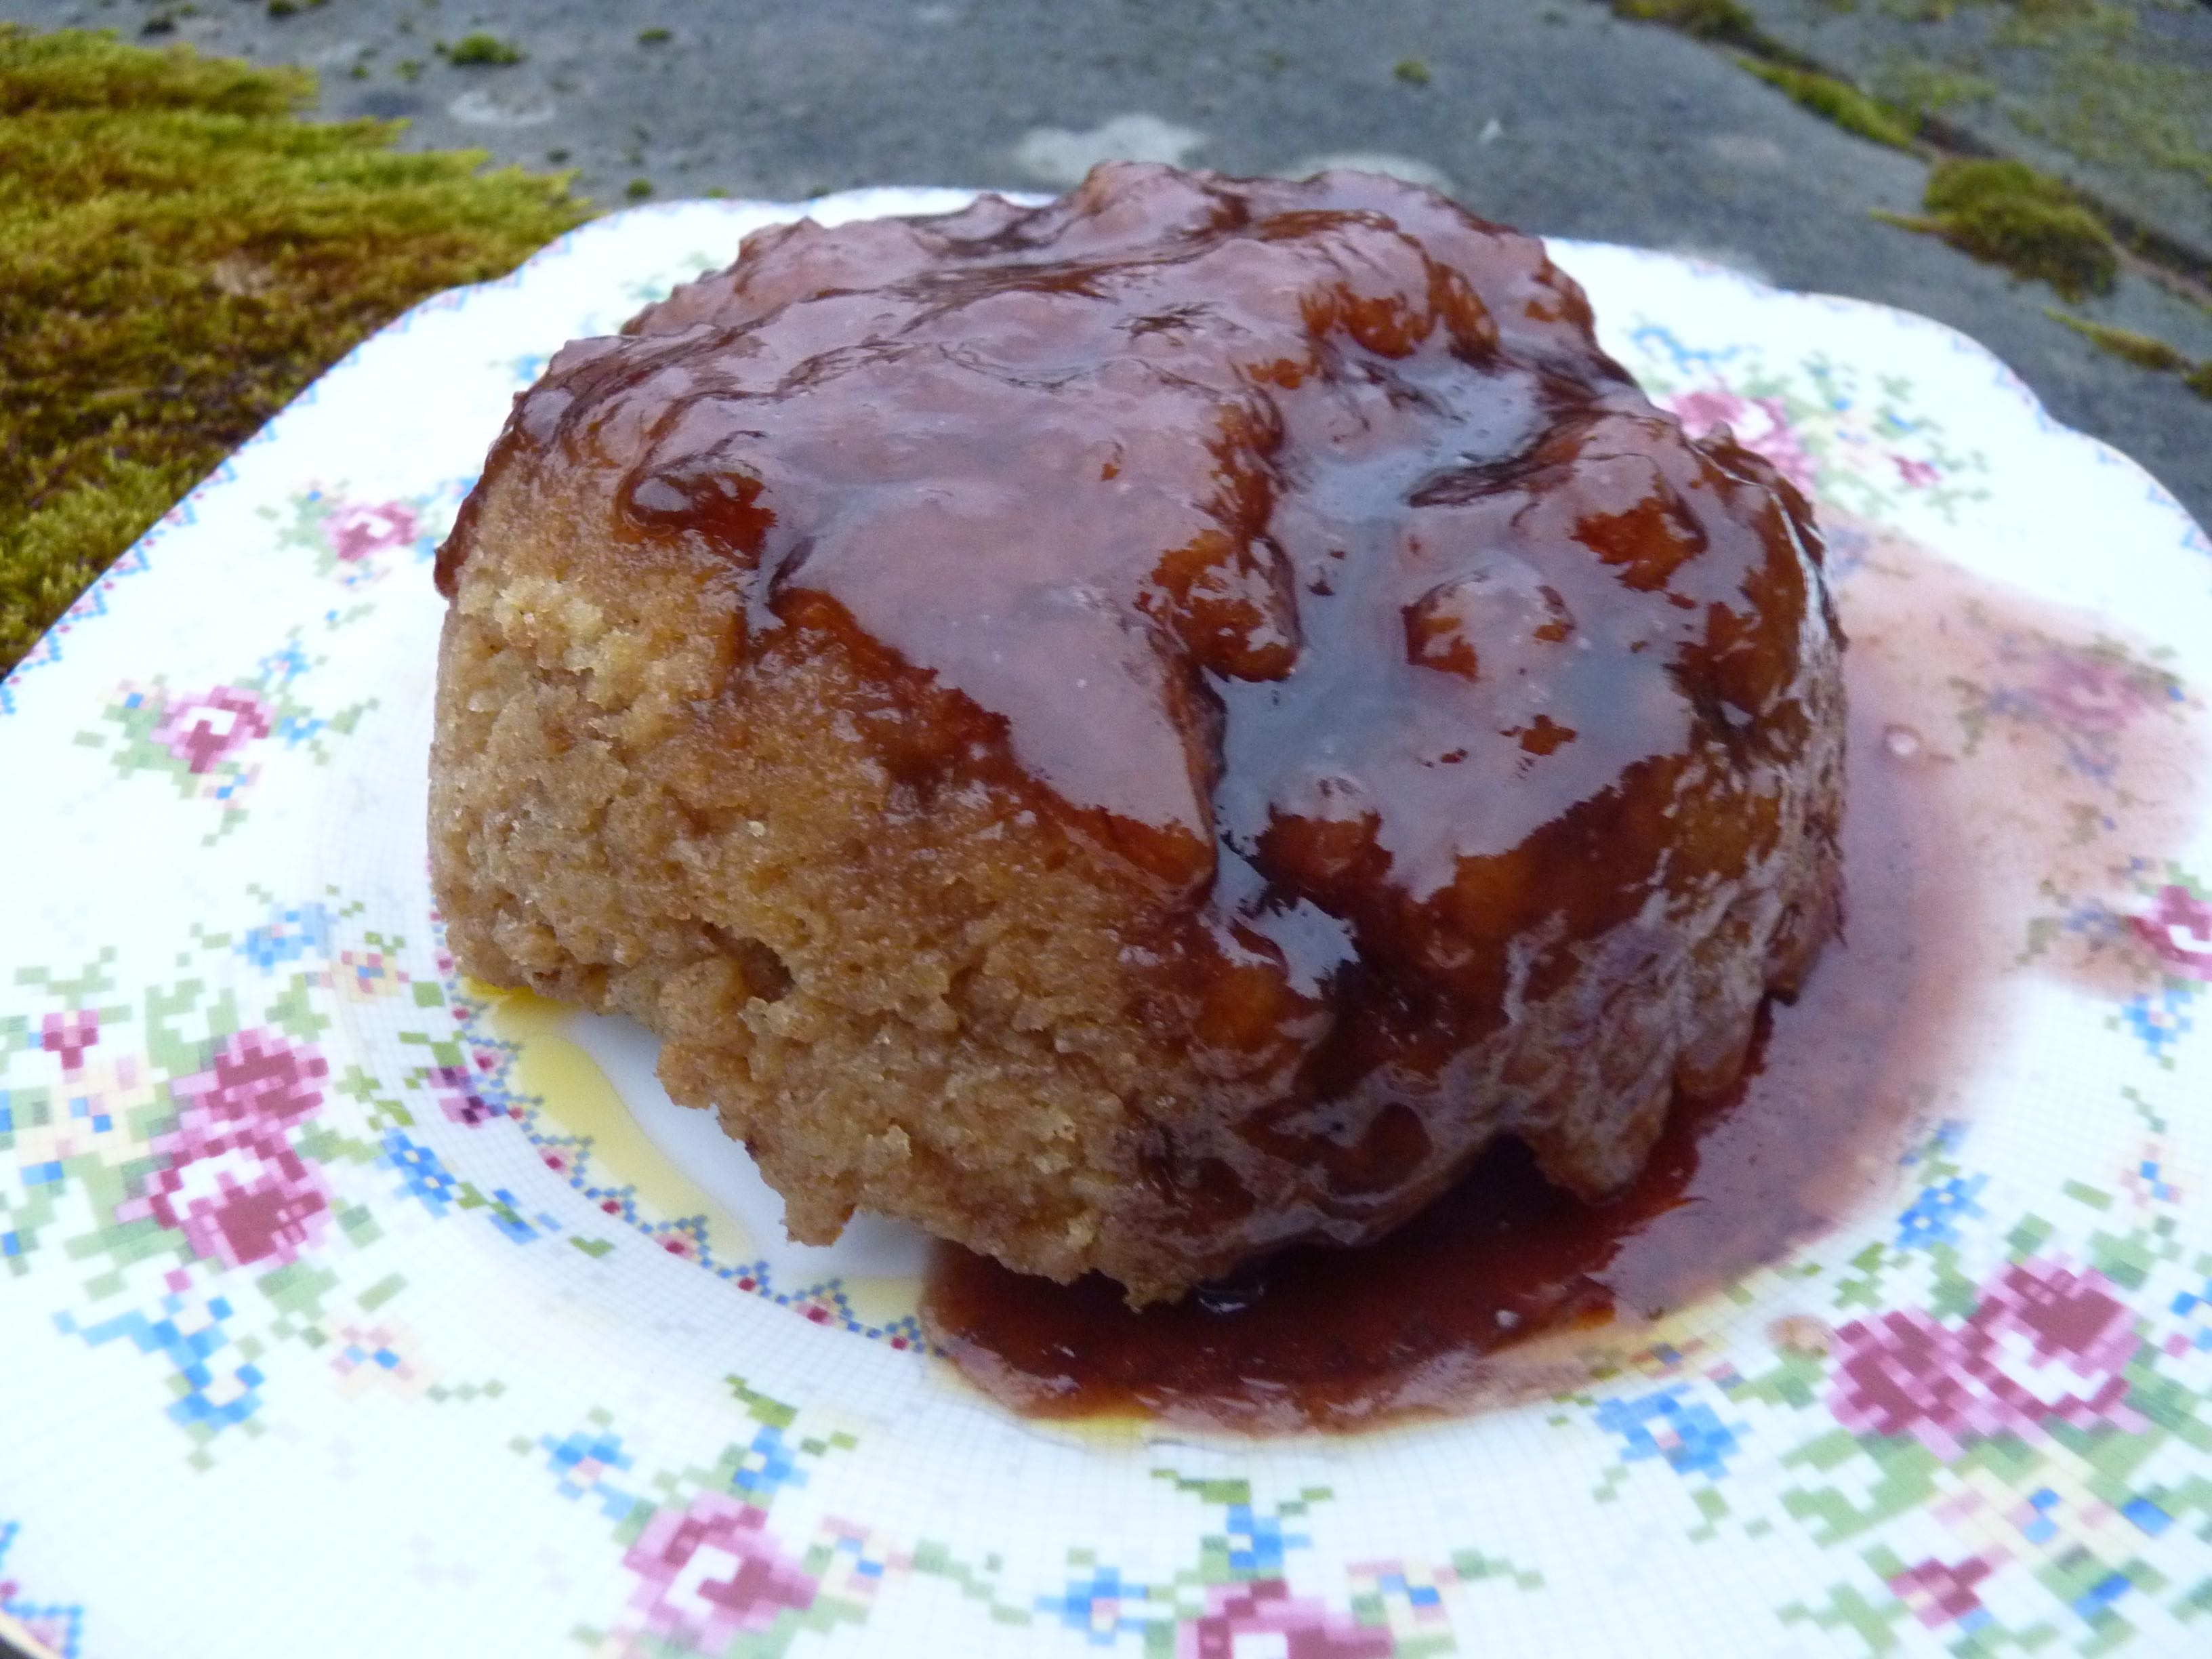
Honey and almond buns
It’s Real Bread Week this week and this is something close to my heart. The difference between real bread, made with those four ingredients of flour, yeast, salt and water and the bread that you get in the supermarket with all the added emulsifiers, fast proving and bland fluffiness are a world apart. I urge you to bake your own bread or if that doesn’t appeal (although please give it a go, just once, and I promise you will be hooked) then try to find a bakery that makes bread that meets the Real Bread Campaign’s standards.
Most of my days are consumed with the making of bread, the trialling of new recipes or the teaching of bread baking to others. In celebration of Real Bread Week I thought I would make these beauties.

These were inspired by a free sample of Manuka Honey I was sent to review by Manuka Doctor. Manuka honey is reputed to have many health benefits, with its antibacterial properties. Now I cannot vouch for its ability to cure you of your ills, but I can tell you that it is very tasty. It has a creamy, smooth consistency and is really quite delicious, and not as strong tasting as some Manuka honey that I have tasted in the past. I ummed and erred about whether I should cook with it, as Manuka honey is expensive and is probably better spread on your toast or added to your peppermint tea (and most of my jar has been used for both of these purposes) than used so extravagantly as I do in this recipe. However, I was sent a jar to review and this is a cooking blog and would you really be interested in a picture of my honey spread on a bit of my toast? If you are making these buns at home then I recommend you use a very good local honey (and check the jar carefully to make sure it is local honey and not just packed locally) and save your Manuka for your toast and to sweeten your tea or smoothie.
This recipe is the enriched dough recipe I use in my baking classes, but with the sugar swapped for honey and it really does ring the changes, making a deliciously sticky and aromatically sweet bun.
Honey and Almond Buns
Ingredients
300g strong white flour
250g plain flour
10g salt
10g fresh yeast or 5g easy bake yeast
1 egg, beaten
150ml milk
150ml water
50g butter
50g honey
For the filling:
50g melted butter
50g flaked almonds
75g ground almonds
100g honey
For the glaze:
1-2 tbsp honey
Flaked almonds
Method
Place the flours, and salt in a large bowl, mix well. If you are using easy bake yeast then add this to the flours. If you are using fresh yeast crumble into a small bowl or cup. Heat the milk and the water over a gentle heat until just warm to the touch. Pour a little over the yeast and stir well to dissolve. Add all the liquid and yeast to the flours. You don’t have to wait for the yeast to bubble. Melt the butter with the honey over a gentle heat and add to the flour with the egg. Mix well together until there are no dry bits remaining. Cover the bowl and leave to rest for about 30 minutes. Do the first round of stretch and fold as shown in the video. Leave to rest for 10-30 minutes. Do another round of stretch and fold and repeat rest and a final round of stretch and fold. You can also knead the doughy hand for 10 minutes or use a use the dough hook in a free standing mixer, with the mixer on speed 1 and for about 3 to 5 minutes.
Shape the dough into a ball, place into a bowl and cover with a large bag or lightly oiled clingfilm and leave to prove for about an hour to an hour and a half. With all of the egg, milk and butter in this dough it may take longer to rise. So use your judgement and when it looks like it has doubled in size it is ready for the next stage.
Make the filling by melting the butter and honey together in a small pan and then stir in the flaked and ground almonds.
Lightly flour your work surface and turn the dough out. Roll the dough into an oblong measuring 20cm x 40cm. Spread the filling evenly over the dough.
Roll up from the long end like you would a swiss roll. Cut into nine equal pieces.
Line a square 20cm tin with baking parchment and place the buns in.. Using your palm to flatten slightly so that when they have proved they will all be joined together in a batch. This will mean you have that lovely soft sides to your bun when you tear the nine buns apart once cooked (see pic below). Cover again with a large plastic bag or lightly oiled clingfilm and leave to prove for about thirty minutes, or longer if your kitchen is cold. They will have grown and merged together.
Preheat your oven to 200ºc, gas mark 6, 390f or use the roasting oven of the Aga with a grill rack set on the floor of the oven. Remove the bag or clingfilm and place in the oven and bake for about 25 -30 minutes until the buns are golden. Drizzle over another 1-2 tablespoons of honey whilst the buns are still warm and sprinkle over some more flaked almonds. Leave in the tin for ten minutes and then turn out onto a wire rack to cool completely.

Are you ready to learn more?
My Bread Made Easy Membership is designed to help you master bread making. You get access to all of my online bread courses and you can join me for a monthly live demo and bread chat.

Honey and almond buns Read More »