bread

Bread!

I have become a woman obsessed. Obsessed with achieving the perfect loaf. Not long after I started this blog back in 2009 I had my first success with bread making. It then became a habit, regular kneading and eating. Then bread bought from anywhere just didn’t satisfy any more; it had to be my home-made loaf or nothing. A few years ago I experimented with sourdough, but it wasn’t a hit. I hadn’t waited long enough for the starter to mature and the resulting loaf was just too acidic. The starter was too much trouble to maintain. Back to the yeasted loaf we went.

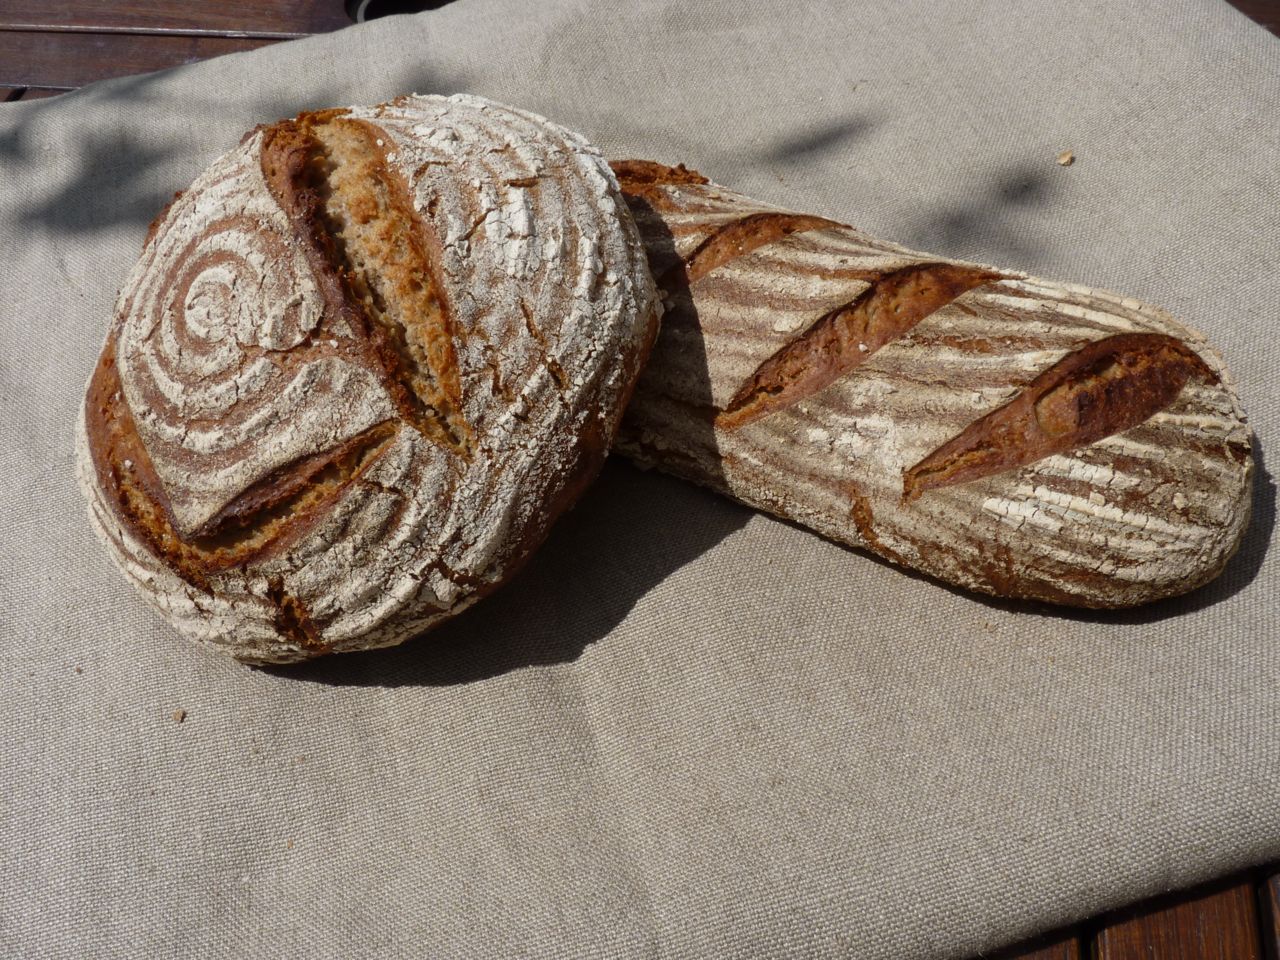
Then at the beginning of this year I became tempted once more by the attraction of building a sourdough starter. At first taste of that first loaf I was bewitched and so began the quest for creating the perfect sourdough loaf.

I have researched the net and bought the books. I have joined the Real Bread Campaign to get tips from there. I have bought scrapers and a lame to improve my chances. I have researched flours and visited mills. I am learning about hydration and how to manage that sticky dough. The kitchen smells of yeast or freshly baked bread. There is always a fine layer of flour dust on the kitchen shelves that needs to be dusted away.  I have had great loaves emerge from the oven and some not so great, but all of them have tasted good.

The bread journey continues. I will keep you updated.
Sourdough

Bread! Read More »

Breadsticks

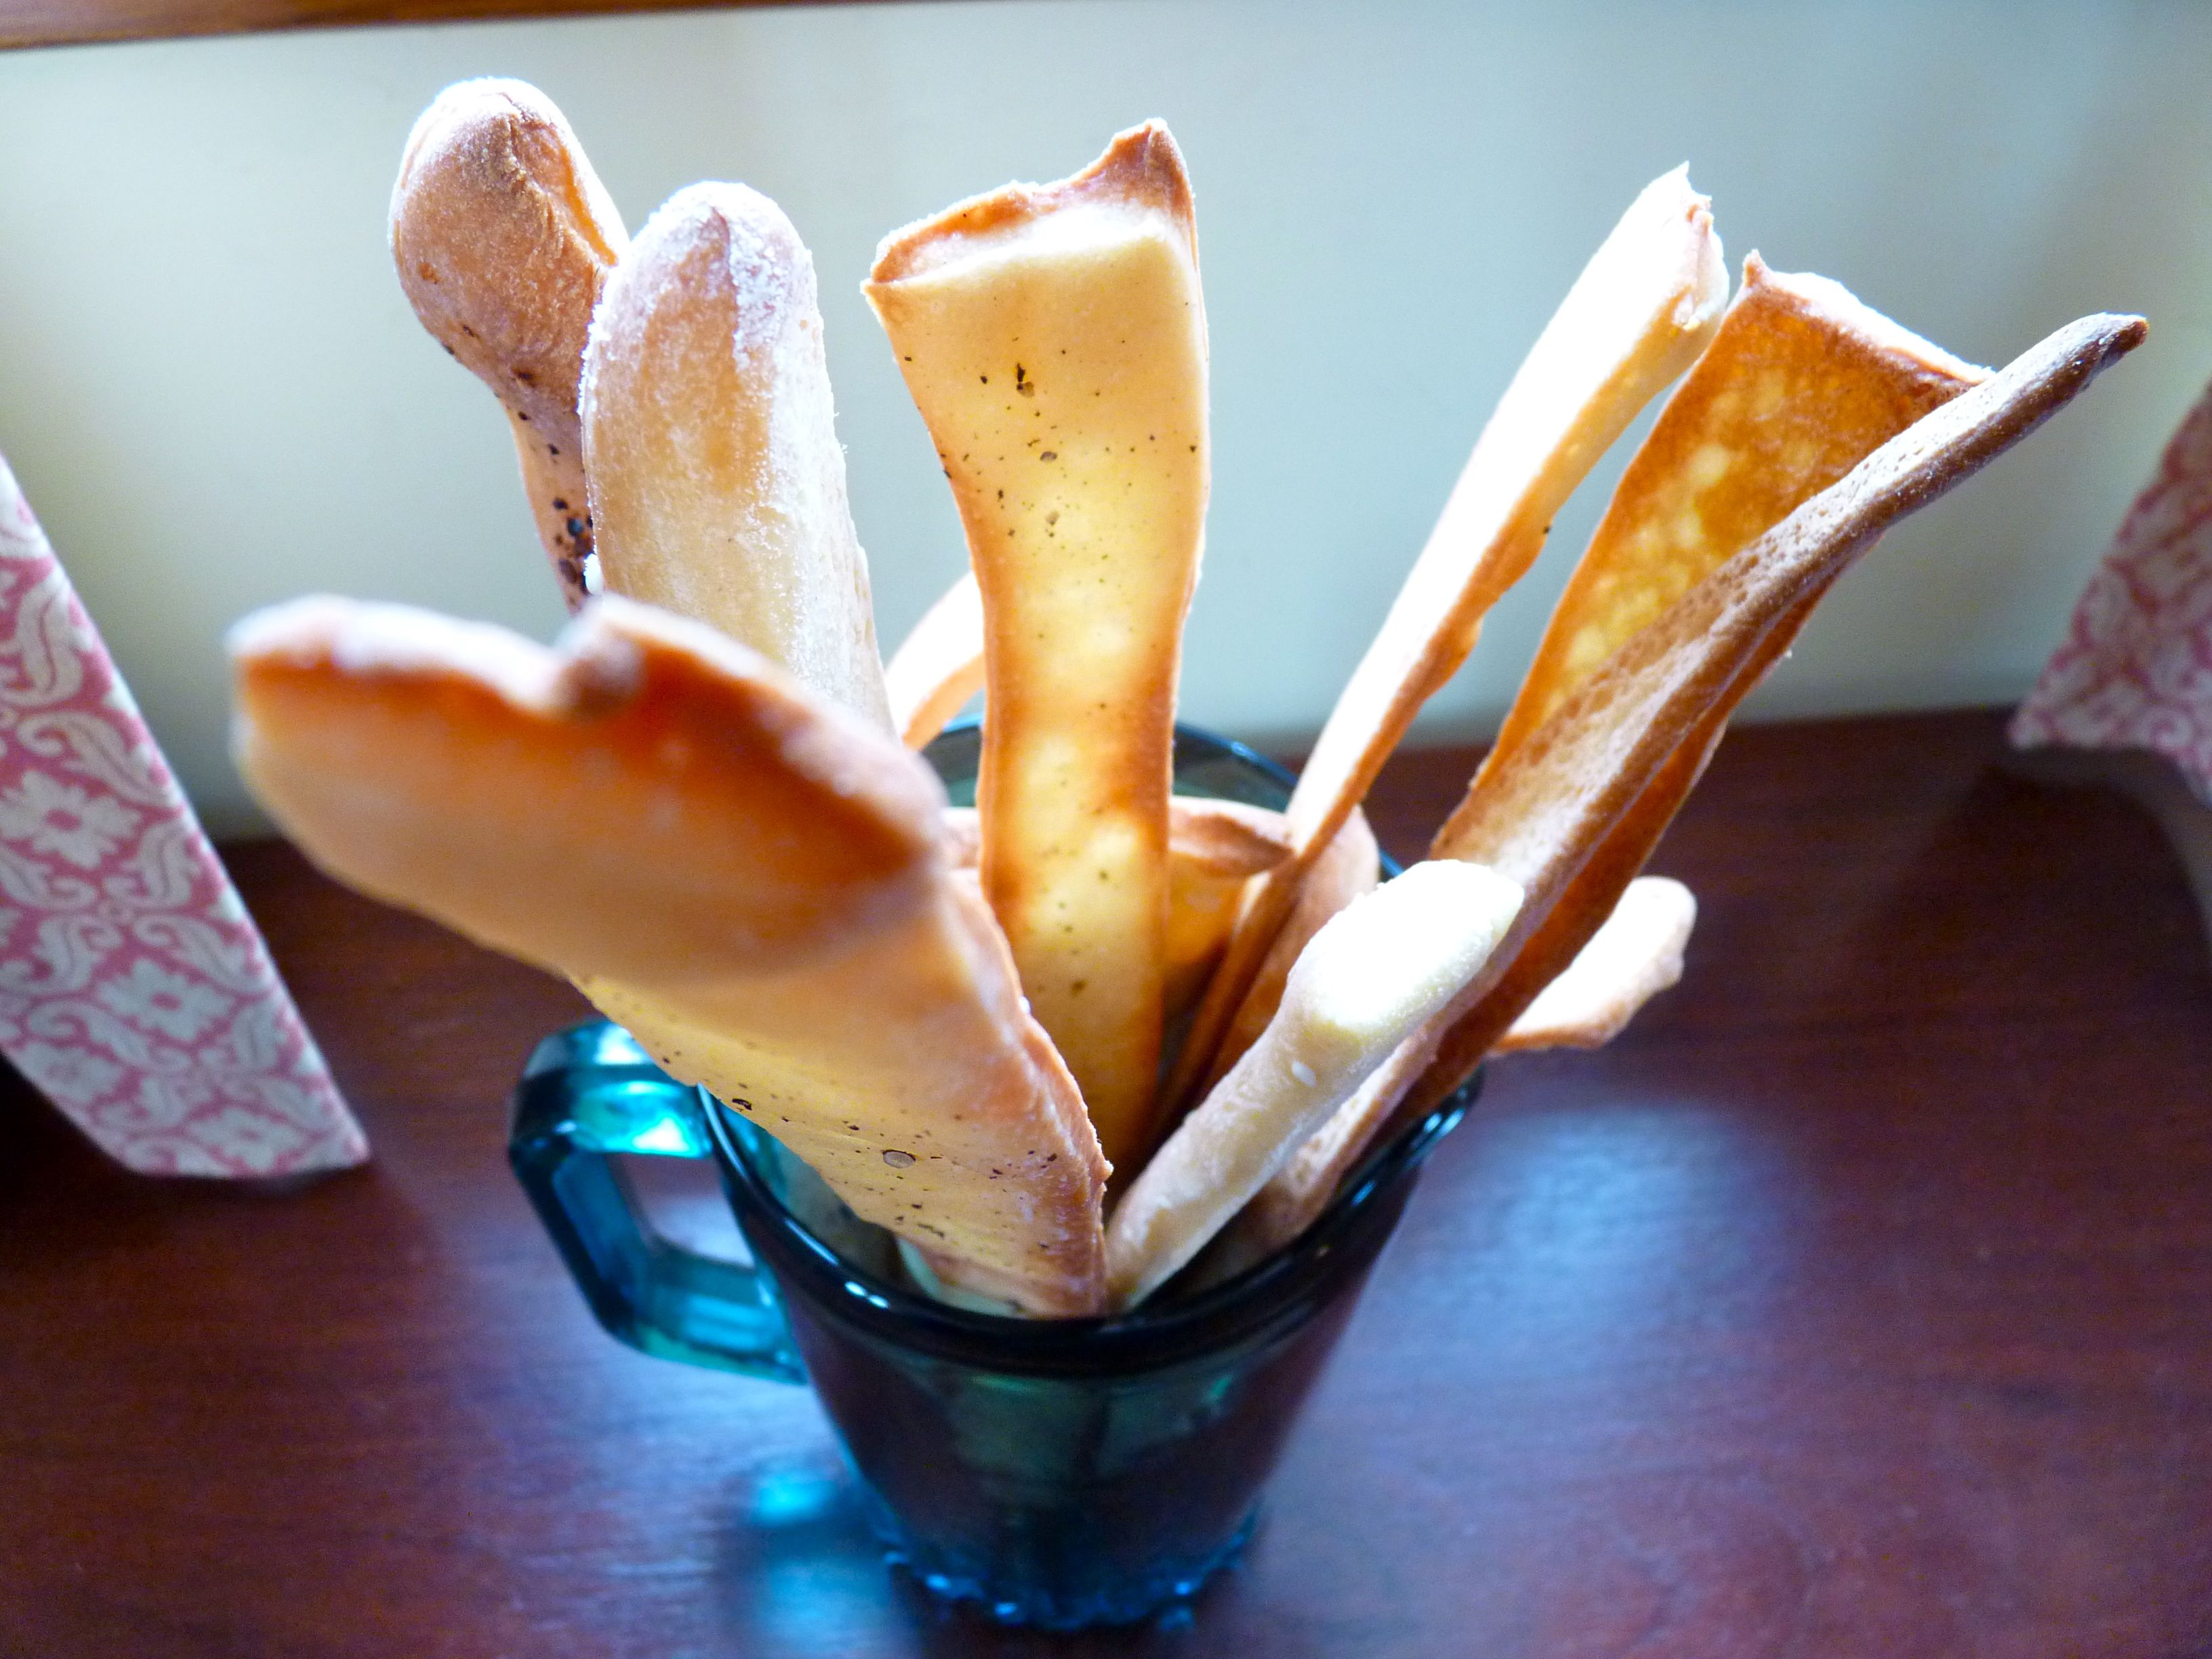
I made these for saturday night too.  I have wanted to make them for a while and saturday presented the perfect opportunity.  The recipe is from Daniel Steven’s Bread book (River Cottage Handbook No. 3), which is a great book and deserves space on any keen cook’s shelf.

I sprinkled some with sea salt, some with freshly ground pepper, some with crushed chilli and the rest with sesame seeds.

Next time I make them I will be more careful not to stretch them when I lift them onto the tray.  Stretching leads to thinner parts which cook quicker then the rest. I think they were worth the effort, sometimes  it is good to make something that you can buy so easily.

Makes about 30

250g strong white bread flour
250g plain flour
2 tsp fine salt
7g sachet easy bake yeast
glug of olive oil
325ml warm water

Olive oil to brush on breadsticks and then the toppings of your choice or you could leave them plain.

Method

Place the flours, salt and yeast in a bowl and add the olive oil and the water and mix to a sticky dough.  Turn onto a work surface and knead until the dough feels smooth and elastic. Form into a ball place back into the bowl and cover with a large bin liner.  Leave until the dough has doubled in size.

Press the air out of the dough gently with your fingertips and then roll the dough out on a floured surface until it is about 1 cm thick.  I split the dough in half before I rolled it out so that it didn’t become unmanageable.

Then cut into strips as wide and as long as you want.  Lift carefully onto a lightly greased baking tray (I used four baking trays for all of the dough), brush lightly with olive oil and then sprinkle your topping on. Cover again with the bin liner and leave to rise for about 30 minutes.

Preheat the oven to 200°c, gas mark 6 or use the roasting oven of the Aga and then cook the breadsticks for about 20 minutes until they are golden.  Cool on a wire rack.

Breadsticks Read More »

Breakfast rolls

We have been lucky this year and had a whole two weeks together as a family over Christmas.  It has gone really quick though and we haven’t done as much as we would have liked with our time together.  My cold knocked me out of action for the first week, so a lot of film watching tucked up on the sofa went on and then this week the weather has been fairly miserable. We have managed a few days out.  But I have tried to make a few special breakfasts, we have had pancakes, waffles, oatcakes and yesterday I filled these breakfast rolls with sausages and fried onions.  Is there a better breakfast than that?

These rolls are easy to make and beat supermarket bread hands down.

500g strong white bread flour
2 tsp fine sea salt
7g fast action yeast
1 tsp sugar
150ml warm milk
150ml warm water

Method

Place flour, yeast and sugar in a large bowl mix well, then add salt.  Mix again.  Add warm milk and water (I add just boiled water to the cold milk and this makes it hand hot, which is just about right).  Using a claw action with one hand bring the dough together.  It should be slightly sticky. Knead the dough on a lightly floured surface for ten minutes until soft and elastic.  Alternatively if you have a free-standing mixer with a dough hook you can put all of the ingredients in and mix on a slow speed for about seven minutes.

Form the dough into a ball and place in a clean bowl.  Cover with a large plastic bag (I use a bin bag) and leave to rise for about 1 ½ hours.  It should double in size.  Using your fingertips gently prod the air out of the dough, turn it onto the work surface and cut into six equal pieces.  Shape each piece into a sausage shape and place onto a well floured baking tray, leaving plenty of room for it double in size again.  Sprinkle each roll lightly with flour.  Cover again with the plastic bag, making a tent shape to leave room for the rolls to rise and leave for about twenty minutes.  After this time they should have risen to just under double their size.

Place the rolls onto a preheated baking sheet into a preheated oven at 200°c, gas mark 6, or directly onto the floor of the roasting oven of the Aga and bake for twenty minutes until golden brown (check after fifteen minutes and if necessary turn the oven down to 180°c, gas mark 4, or move them to the baking oven of the Aga to cook for the last five minutes).  The rolls will sound hollow when tapped.  Leave to cool on a wire rack.

Breakfast rolls Read More »

Kamut bread

In my continuing quest to make the perfect loaf I have been trying out different flours.  Kamut flour is a wholegrain and was originally grown in ancient Egypt.  It is high in proteins and minerals such as selenium.   It has a lovely golden hue, not unlike gram flour.  You can see the lovely colour in the pic below.

The bread tasted good and it had a lighter texture than a wholemeal loaf, but I don’t think it was extraordinary and I think I prefer the taste of a spelt loaf.  However, it is worth trying at least once.  It has quite a sweet flavour and I think it would be good dipped into a soup.  The Kamut flour I have is from Doves Farm and they suggest making pasta and shortbread with it too.  I might give the shortbread a go.

500g kamut flour
7g sachet yeast
1½ tsp fine salt
2 tbsp oil
350 – 400ml warm water

Method

Mix the flour, yeast and salt in a bowl.  Pour in the oil and the water (you may need the full 400ml or you may not, so go careful with the last bit, you want the dough to be soft but not too sticky) and mix well with your hands to a soft dough.  Turn out onto a wooden board and knead for ten minutes until the dough is smooth and elastic and is harder to stretch.  You should be able to put your finger into the dough and it should bounce back leaving only a small indentation remaining.  Clean the bowl and oil lightly and smooth the dough into a ball and place into the bowl.  Cover with oiled clingfilm or a bin liner and leave to rise in a draught-free place for 1-2 hours until doubled in size.  Preheat your oven to as high as it will go (240°), preheating the baking tray or stone that your loaf will be sitting on at the same time.

Press the air out of the dough using your fingertips and tip onto the wooden board.  Shape into a loaf and put onto a well floured surface or place into a 1lb loaf tin that has been lightly oiled.  ( I shaped mine into 2 small loaves). Leave to prove for 20-30 minutes until it has risen until almost double in size.  Slash the tops with a sharp knife to allow the loaf to rise better in the oven and place in the oven on the heated tray or stone. Leave for 10 minutes and then check, if it is starting to brown then turn the heat down to 200°c.  Check the loaves after they have been cooking for another 10 minutes.  Depending on your oven it can take between 20-40 minutes to cook.  They will sound hollow when tapped on the base when they are cooked.  Place onto a wire rack and leave to cool completely before slicing.

Kamut bread Read More »

Bread sauce

Bread sauce is probably one of my favourite things, the combination of bread sauce and good sage and onion stuffing is very hard to beat.  It always reminds me of Boxing Day when we go for a walk in the morning and then return to cold turkey and stuffing and reheated bread sauce – my mouth is watering just thinking about it.  I was inspired to make some after reading a Rachel Eats post on Sunday lunch where she had cooked some to go with her slow roast pork.  So I made some to take to my mum’s for sunday lunch this week to go with the duck that she was roasting. I will be following a tradition and making it for Christmas Day, and making sure there is plenty so that I can enjoy some on Boxing Day. This recipe is adapted from the classic by Delia Smith.

1 onion, peeled and chopped in half
12 cloves
1 bay leaf
10 black peppercorns
425ml (15 fl oz) whole milk
25g (1 oz) butter
4 tbsp double cream
75g (3 oz) breadcrumbs
salt and pepper to taste

Method

Stick the cloves into the cut onion and place in a pan with the bay leaf  and the peppercorns.  Pour the milk over.  Bring the milk to boiling point and then take off the heat and cover and leave to infuse for at least two hours.

Strain the milk into a jug and then pour back into the pan. Add the butter and the breadcrumbs and place onto a gentle heat and stir occasionally until the breadcrumbs have swollen and thickened the sauce.  This will take about 15 minutes.  You can now leave it to stand until you are ready to serve.

Just before serving add the cream and reheat gently. Add salt and pepper to taste. Serve in a warmed bowl.

Get printable version

Bread sauce Read More »

English muffins

muffin and jam

I decided to do a special breakfast yesterday, well it’s half term and we were all off yesterday and having a day together.  So I got these started early (about 7ish) and we were enjoying them by 9 am.  Hot off the griddle and spread with butter and jam they were really tasty.  The recipe makes 12 muffins so we had plenty left over so I made Eggs Benedict for last night’s tea.  The muffins will keep though for a few days in an airtight tin, and can be split and toasted.

You can of course buy these muffins, but it really is worth the effort to make your own and it really isn’t that much effort.  I use my trusty tortilla pan to cook them but any heavy based pan or a griddle will do the job.

450g (1 lb) strong bread flour
225 ml (8 fl oz) milk
55 ml (2 fl oz) water
7g sachet of easy blend yeast
1 tsp caster sugar
1 tsp salt

Method

Measure the flour, salt and sugar into a large bowl and mix well.  Place in a low oven (100°c) for 10 mins to warm through.  Measure the milk and water into a small pan and heat over a gentle heat until hand hot.  Take the flour out of the oven and add the yeast and gradually pour in the milk and water .  Mix with your hands until the dough comes easily into a ball away from the sides of the bowl.  The mixture may need a little less or a little more liquid so add the last bit with care.

Take the dough out of the bowl and knead on a worktop surface for about ten minutes or as long as your arms will bear. It should be springy and elastic. Place the dough back into the bowl and cover with clingfilm rubbed with a spot of oil (the oil on the inside). Leave to prove until it has doubled in size, this will take about 45 minutes in a warm kitchen or longer if left in a cool spot. I have never tried this but if you leave the dough in the fridge overnight it will be risen ready for the morning, so this may be a good plan if you don’t feel like waiting for a couple of hours for your breakfast.

When the dough has doubled in size take it out of the bowl and put it onto a lightly floured worktop and roll the dough out to about 1 cm thickness.  Using a scone cutter cut out 12 muffins.  You will need to re-roll the leftover bits of dough.  Place these onto a floured baking sheet, re-cover with the oiled clingfilm and leave for about 25 mins until  risen.

Heat the pan over a medium heat until hot and then place the muffins on the pan.  Turn the heat to low.  Cook for 7 minutes on the one side until nicely browned and turn and cook for another seven minutes until cooked through.  You will have to do this in batches.  Those you don’t want to eat immediately can be cooled and kept in an airtight tin.

Get printable version

cooking muffins
Cooking the muffins

English muffins Read More »