The Ordinary Cook

Community Potluck Cookbook

Third Thursday Community Potluck Cookbook by Nancy Vienneau

I started this blog back in 2009 when the job I had back then came to an end. I had a choice – I could get a job in a city about an hour away from home and take the same journey my husband makes every working day or I could take a career break.  Our girls were little then, aged 4 and 2 and I didn’t see how we could both leave home before 7 am in the morning.  It was  a difficult choice and one that I have wrestled with ever since. I was on the cusp of having a proper career. I had finished my PhD in 2005 and had worked as a research consultant in the same field ever since. I loved my job and knew a lot about finance mechanisms for early-stage businesses.  But I love my girls more and the notion of leaving them in full-time childcare made me wince. We made the decision to manage on my husband’s income. (We are very lucky that we can.)  But I knew I needed to do something that was mine, outside of caring for the girls.  Something that I could focus on. My original idea was to publish a recipe book, but I hadn’t a clue how to go about it. I did some research on the net and found food blogs. It seemed like an ideal solution. It would be like keeping a ‘hand in’ whilst I took a career break to look after my girls. It has proved to be a great way to gain some skills in website building and as a way of getting my recipes to an audience.

What I hadn’t realised back then was that I would become part of a community. You begin to read someone else’s blog, make a comment and then another. You read about their lives as well as their baking and after a while you think of them as friends. These are people that you will probably never meet face to face but with whom you feel a connection.  I had no idea when I started all of this back in 2009 that I would get to know people from all over the UK and, in fact, from all over the world. For all the bad press that the internet gets, it also opens doors to some marvellous opportunities.

I found Nancy’s blog in the early days and it was this post  that sealed it for me. Nancy’s story of the waffle iron rang so many bells for me in terms of what I want for my own daughters. I have been a fan of Nancy’s ever since. She is an amazing woman doing so much good work in her campaigns for healthy and affordable food for everyone. I was really pleased when she announced that she was publishing a book based on her Third Thursday Community Potlucks. I love the concept. Nancy and her friend Gigi met after Nancy had admired a community farm plot run by Gigi. Together they decided that each third thursday of the month they would invite like-minded friends and acquaintances to a gathering at alternatively Nancy’s or Gigi’s house. If you could make it, great – just bring along a seasonal dish and beverage to share with everyone else. I love that they didn’t really ever know how many people would join them on any given potluck evening and that out of these potluck suppers have come weddings and babies.

The book is beautiful, filled with stunning seasonal recipes and gorgeous photos. Nancy encourages you to start your own potluck as a way of bringing people together who wouldn’t normally have met as a way of strengthening your local community. I am very tempted to make the informal bring and share evenings that our book-club* enjoys into something more regular and introducing new faces.

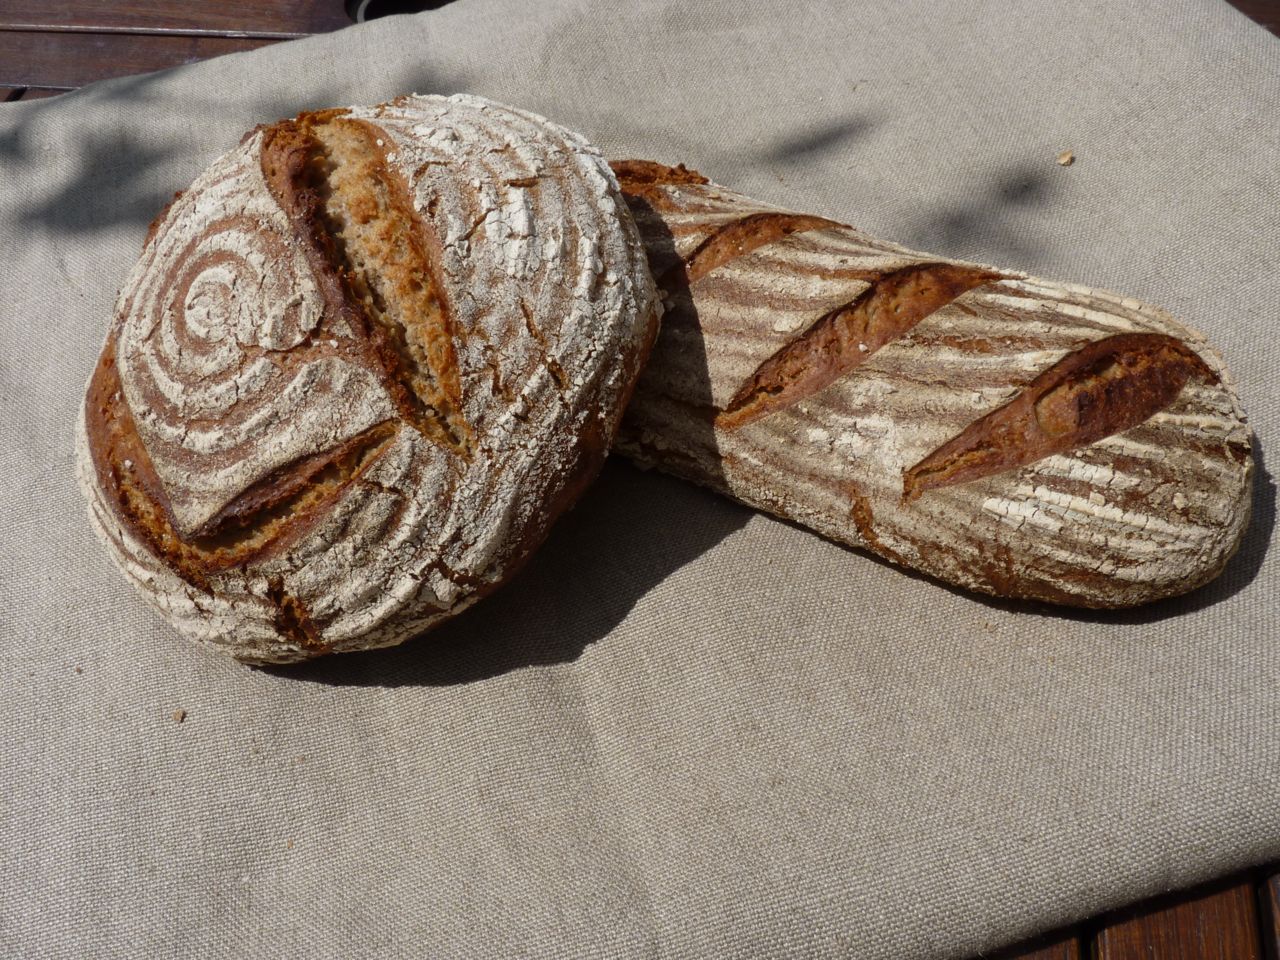
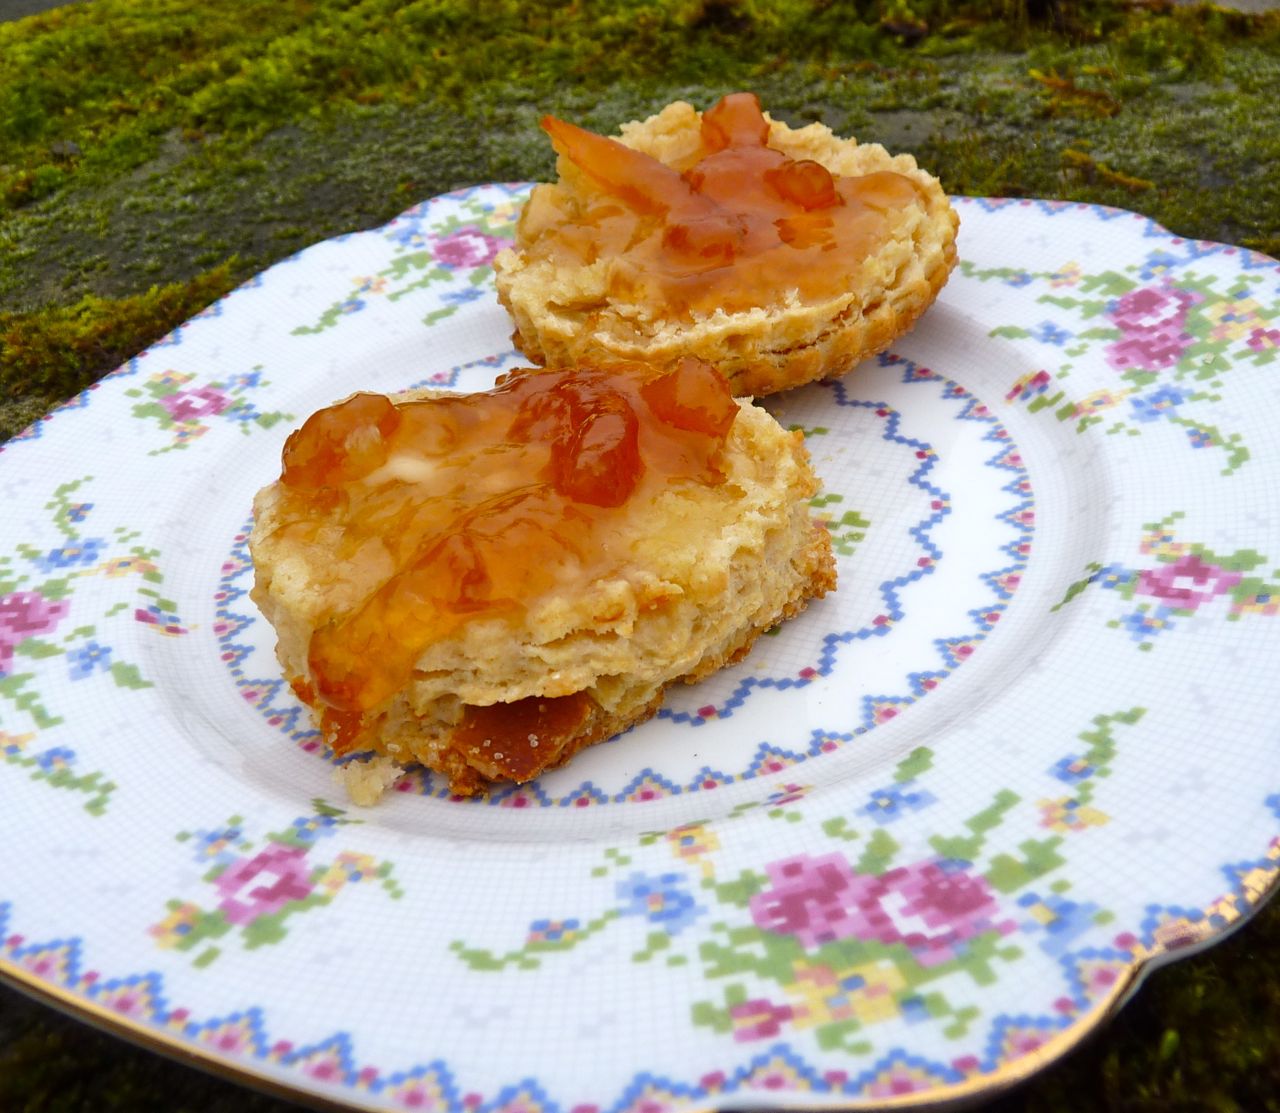
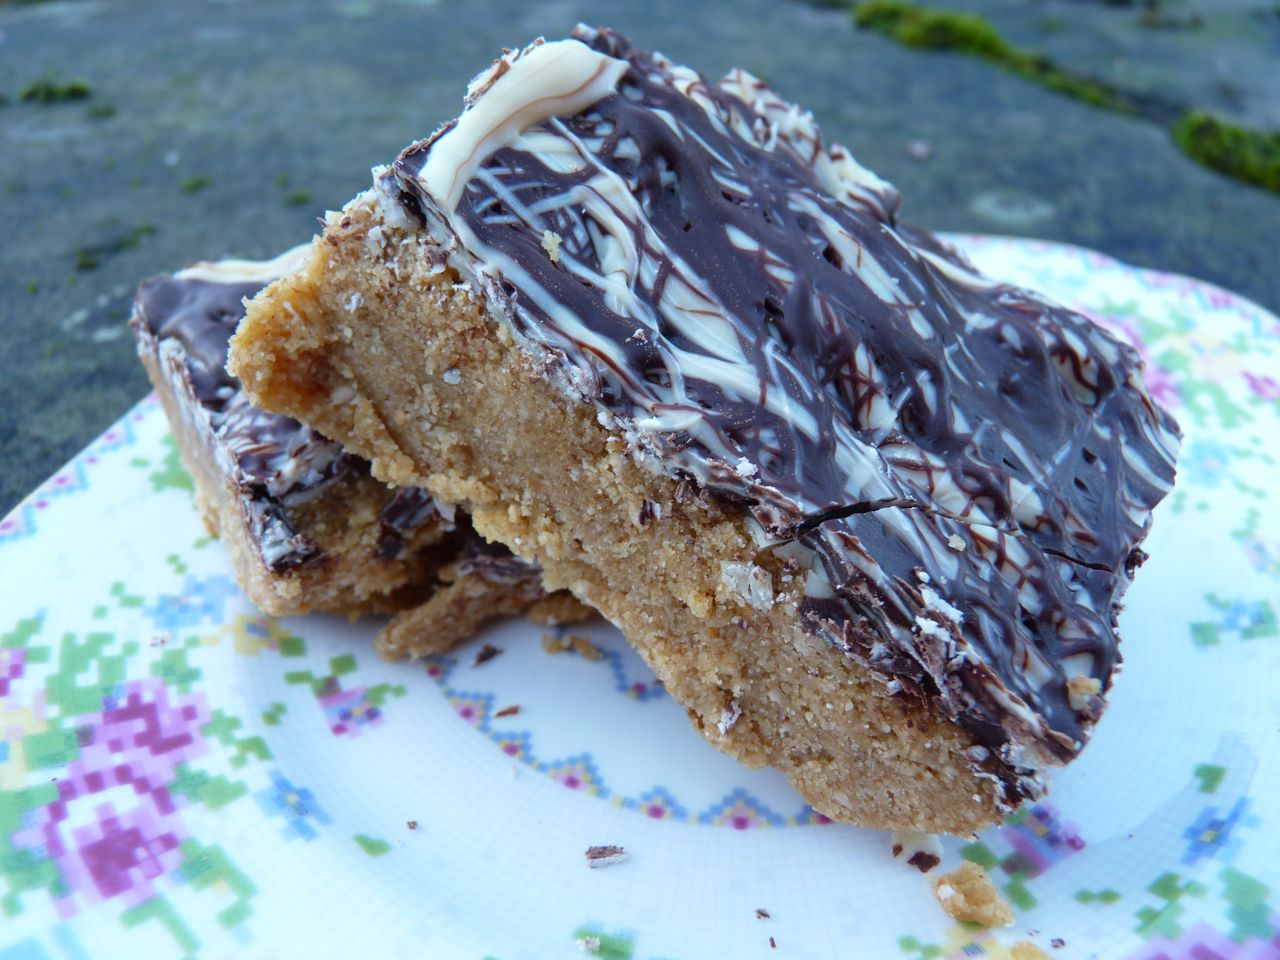
Nancy’s book works through a year, month by month, of Potluck recipes and include the likes of Buttermilk Peach Ice Cream with Salted Caramel Sauce, “Mango Tango” White Butter Cake and Brown Butter Honey Cake and that’s just some of the desserts.

But what is probably the most exciting thing ever is what appears on page 144 of Nancy’s lovely book:

Nancy Vienneau

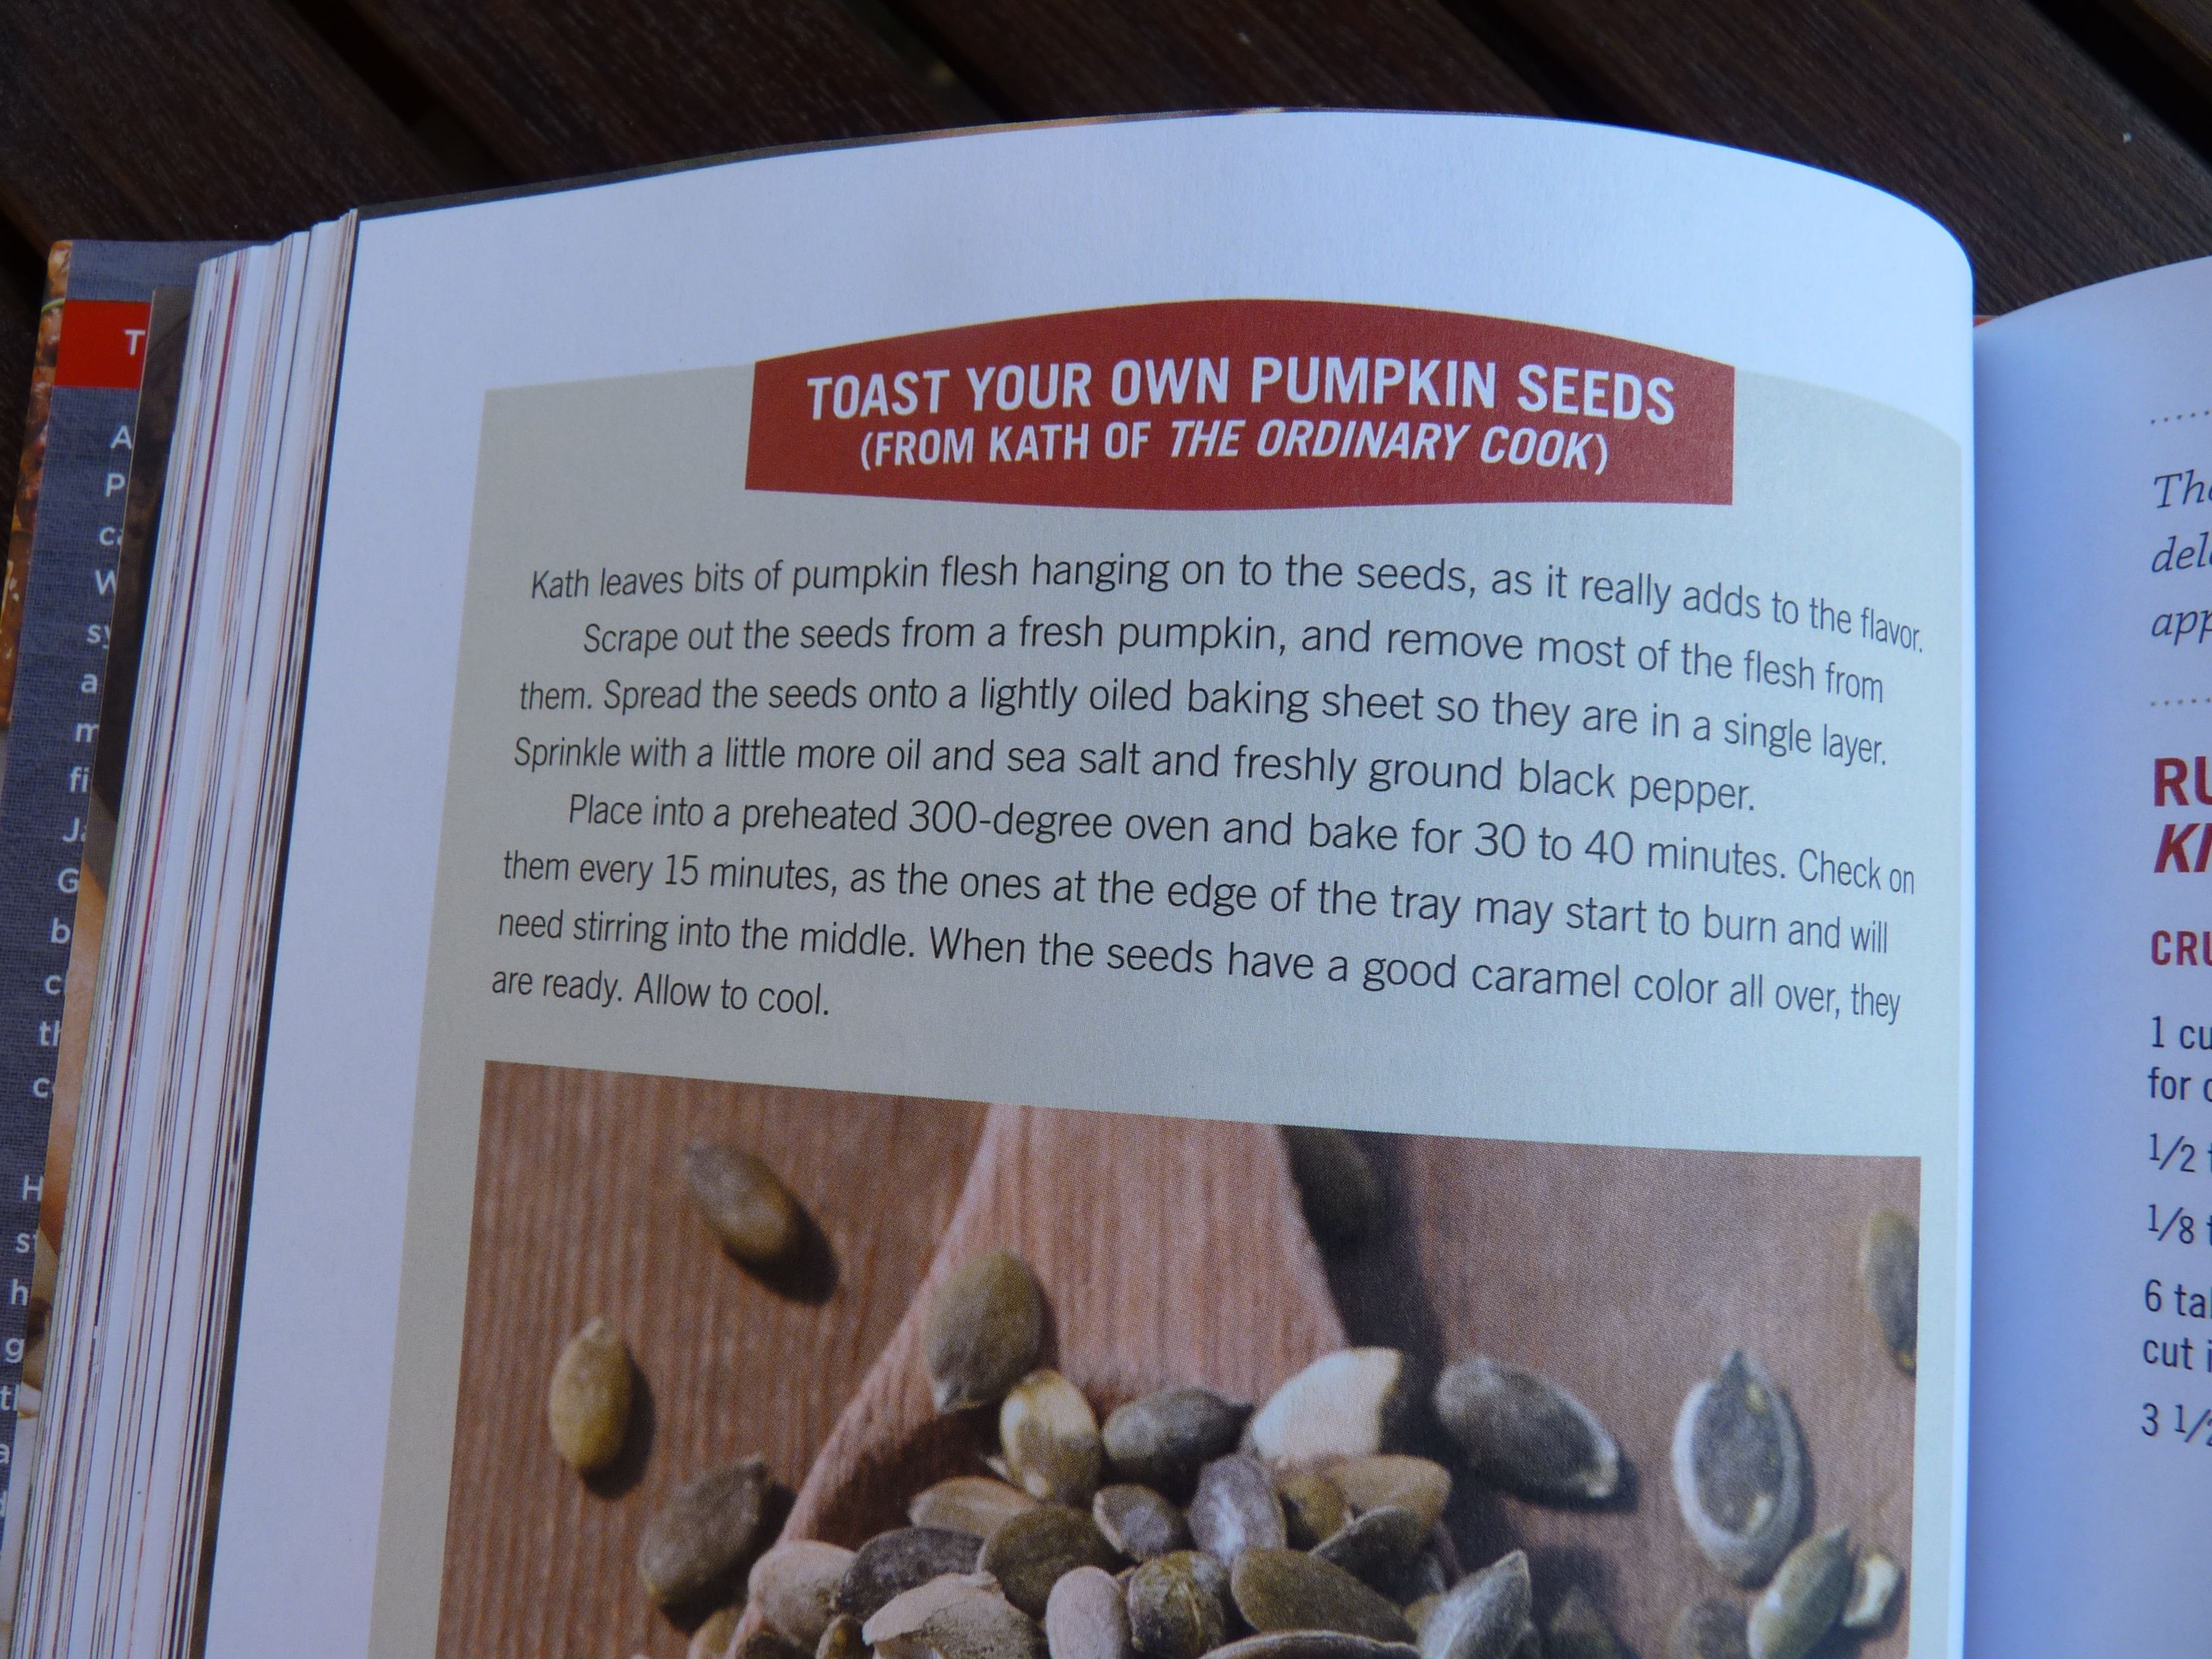
LOOK AT THAT! My name in print thanks to a lovely person living in Nashville whom if I hadn’t started this blogging lark I would never have come across and come to admire. That is the miracle of the internet right there.

I urge you to get yourself a copy of Nancy’s gorgeous book, and obviously not just because it’s got my name in it. I bought mine on Amazon in the UK, but take a look at Nancy’s site Good Food Matters for options if you live elsewhere and maybe start your own potluck gathering and meet some new people face to face.

*What started out as a book club has now become the wine club as we now rarely read books as part of the group but we do our fair share of drinking wine.

Just to let you know, I wasn’t asked to review this book. I did it because it’s a book well worth having. I bought my own copy. 


Community Potluck Cookbook Read More »

Bread!

I have become a woman obsessed. Obsessed with achieving the perfect loaf. Not long after I started this blog back in 2009 I had my first success with bread making. It then became a habit, regular kneading and eating. Then bread bought from anywhere just didn’t satisfy any more; it had to be my home-made loaf or nothing. A few years ago I experimented with sourdough, but it wasn’t a hit. I hadn’t waited long enough for the starter to mature and the resulting loaf was just too acidic. The starter was too much trouble to maintain. Back to the yeasted loaf we went.

Then at the beginning of this year I became tempted once more by the attraction of building a sourdough starter. At first taste of that first loaf I was bewitched and so began the quest for creating the perfect sourdough loaf.

I have researched the net and bought the books. I have joined the Real Bread Campaign to get tips from there. I have bought scrapers and a lame to improve my chances. I have researched flours and visited mills. I am learning about hydration and how to manage that sticky dough. The kitchen smells of yeast or freshly baked bread. There is always a fine layer of flour dust on the kitchen shelves that needs to be dusted away.  I have had great loaves emerge from the oven and some not so great, but all of them have tasted good.

The bread journey continues. I will keep you updated.

Sourdough

Bread! Read More »

Candied peel scones

candied peel scone

It felt like a scone morning this morning. I have made some marmalade and so felt the urge to make scones that would go well with marmalade. I have some candied peel in a kilner jar on the side and so was born a lovely scone.

scones with marmalade

You don’t have to make your own candied peel to make these but I urge you to give it a try. It’s very easy, lasts for ages and is much more delicious than any you can buy. Try the link above for my recipe for candied peel.

Makes 6-8 scones

300g plain flour
1 tsp baking powder
20g caster sugar
50g butter, cut into dice
20g candied peel, cut into small pieces
1 egg
100ml plain yoghurt
50ml milk

Egg wash, made with 1 egg and a dessertspoon of milk whisked together
caster sugar for sprinkling on top

Method

Preheat the oven to 220°c, gas mark 7 or use the floor of the roasting oven of the Aga for ten minutes and then move to the top of the roasting oven for the last two minutes to brown.

I make my scones in a food processor, which makes it easy and quick. Place the flour, baking powder and sugar in the bowl of the processor. Add the butter and pulse until it looks like breadcrumbs. Mix the yoghurt, milk and egg together in a jug and pour into the flour. Add the candied peel. Pulse until it just begins to come together. Tip out onto a surface and bring together into a disc.

If you don’t have a processor then place the flour, baking powder and sugar in a bowl. Add the cubes of butter and rub in using your fingertips. Add the yoghurt, milk and egg (that you have lightly whisked together) and the candied peel and bring together with your hands. This will only take a few seconds.

I then tend to pat the mixture into a round with my hands, but you can use a light touch with a rolling pin, to about 2.5cm thick. Stamp out scones using a biscuit cutter. Do not rotate the cutter, just stamp down and lift out. If you rotate you prevent them rising properly. Re-roll the trimmings and stamp out until you have no mixture left. Place onto a floured baking tray, brush with egg wash just on the top and sprinkle over a layer of sugar. Bake in the preheated oven for 10-12 minutes until golden and crusty on top. Leave for about 2 minutes and then eat. These are best eaten straight out of the oven.


Candied peel scones Read More »

Orange curd

Orange curd

I have just looked back at my post on lemon curd and realised that I wrote it four years ago! Blimey, time flies. I do love lemon curd and so I thought it about time I tried a different flavour. Orange curd is much sweeter than its lemon counterpart and has a richer taste. I have been eating it on my mid-morning toast but it would be good in a tart or in a twist on the lemon meringue.

The recipe I have used is just an adaptation on my lemon curd one, using two medium-sized oranges. However, I have been rereading my copy of Peter Brears’ Traditional Food in Shropshire with its interesting history of the cooking techniques and recipes of my home county. One of the recipes Peter includes is for orange or lemon cheese, which is curd by another name. It is a treat mentioned in Mary Webb’s Seven for a Secret when Gillian Lovekin is trying to win the heart of Robert Rideout by serving him a tea which she hopes will steal his heart.

She set the table with the best china, brought out cranberry jelly, new bread, lemon cheese, visitor’s tea. She put on her best frock, put up her hair, and picked a scarlet geranium from the window to wear in it. She would be as gay, as pretty and as kind as she could. It wasn’t nice of her father to tell him he was only a cowman. And perhaps, if she looked really pretty, Robert would kiss her!
Mary Webb, 1922, Seven for a Secret, p.48

Spoiler alert- it takes a while but she eventually gets her way.

Because oranges and lemons were expensive, the flesh would have been eaten and the peel used to make the orange or lemon cheese. The peel would be simmered in a pan of water for about an hour until tender and then  pulverised until smooth and this would then have been added to the sugar, egg yolks and butter. I have promised myself to try the recipe this way when I have finished the last of this batch. It sounds like a good alternative to making candied peel with the leftovers from marinated oranges.

In the meantime here is the recipe for the curd in the photo.

100g butter
225g caster sugar
2 medium-sized oranges, zest and juice
5 egg yolks or 3 whole eggs, beaten

Method
You can make this in a pan over a gentle heat, if you are brave, or you can make it in a bowl standing over a pan of simmering water. The latter takes longer but the former is more likely to end up with scrambled eggs. I prefer the latter so put the butter and sugar in a heat-proof bowl and stand it over the simmering water, making sure that the water does not touch the bottom of the bowl. Stir until the butter has melted. Add the finely grated zest of the orange along with the juice and the eggs. Stir well and continue to stir regularly until the mixture thickens. This might take 20 to 25 minutes. It will thicken more as it cools. Pour into sterilised jars, seal and when cool keep in the fridge.


Orange curd Read More »

Candied peel

Candied peel

I have been slicing oranges into segments into a pretty bowl, sprinkling them with sugar and the juice of another orange or a clementine and leaving them to marinate for a few hours in the fridge. My eldest then tucks into them for breakfast or after school. I have been throwing the peel into the bin; neither the chickens or the compost likes it. It occurred to me that I should candy it. After all, it is nearly Christmas and there is something very Christmassy about candied peel.

This recipe is very easy to do on the Aga as you can leave the syrup and peel to simmer away in the simmering oven and then dry out the peel in the warming oven or on the top of the warming plate. You don’t need an Aga to give it a go though. A warm airing cupboard or shelf near a fire or radiator will have the same effect.

There is something very satisfying about candying your own peel. It does take a while, and it is a bit of faff, especially when you can buy it. But still, I think it’s worth giving it a go just for the smug glow you get when you look at your jar of candied peel and think to yourself ‘I did that’.  I am going to dip some of the glistening strands into molten dark chocolate for a treat for Mr OC and me, and maybe the children (if I tell them about it). But that’s another day in the not too distant future. Today I am just going to enjoy looking at the jar and enjoy my smug glow.

I used Debora’s recipe as a guide, I didn’t slice it as beautifully though and used only orange peel rather than a mixture of citrus. Four orange rinds needed about half the sugar and half the water Debora gives in her recipe, so 450g of sugar and 600ml water.  At the point when the peel was soft in the syrup I let it cool in the pan and then placed the pieces into a tin, lined with baking paper. I didn’t dredge it with extra sugar.  I put the tin into the warming oven of the Aga and left it there for about four hours, took it out and left it overnight on the warming plate of the Aga. It was beautifully dry in the morning and ready for the jar.

I plan to use the remaining few tablespoons of orange flavoured sugar syrup to glaze an orange flavoured cake.

Thanks must be given to Debora for all the inspiration she has given me over the past couple of years in both her blog and her book.

Candied peel Read More »

Venison and pickled walnut stew

pickled walnuts
Pickled walnuts

I haven’t posted a picture of the stew here because the photo I took, in these darkening evenings, just did not do the stew any justice. When I made these pickled walnuts I imagined I would be enjoying them with cold cuts and cheese. I have now tried them with cheese and I can report they are OK. Actually, they are hard to describe. They don’t taste particularly walnuty. They taste like something that has been pickled. When I was eating them with cheese, a friend that was with us at the time suggested putting them in a beef stew.  That sounded like a fine idea. Now that I have tried the stew I can report that they do add a lovely sweet tang to the gravy. They are, however, still a bit weird to eat. The exterior of the walnut has a grainy texture and the interior is soft. It’s just a  bit odd. I do think though that I will be putting them in more stews if only so that they can infuse the gravy and I will be chopping them up a little smaller next time, quartering instead of halving.

It doesn’t need to be venison in this stew, you can use beef with equally good effect. I spotted the venison at the butchers and fancied a change.

This stew serves 3 adults generously.

450-500g venison or stewing/ braising beef, diced
1 large onion, chopped  small
4 carrots, peeled and chopped into large chunks
2 celery sticks (if you have them), chopped finely
300 ml beef stock
200ml Guinness or stout
6-8 pickled walnuts, quartered
100g cooked chestnuts (I use vacuum packed for ease)
1 bay leaf
3-4 sprigs thyme
pepper and salt

Method

Pour a couple of tablespoons of oil ( or use beef dripping) into a large saucepan. Place over a medium-high heat and brown the meat in batches. You want the meat to get a good caramelisation so try not to move the meat around too much, just turn once. Remove the meat to a plate. Add the onion, carrots and the celery, if using, to the pan. Reduce the heat to medium and cook for a few minutes until the onions have become translucent and taken on a little colour. Return the meat to the pan, along with any juices on the plate. Add the stock and the stout and stir well to lift any of the lovely caramel bits on the bottom of the pan. Add the walnuts, chestnuts, bay leaf, thyme and season with salt and pepper.

Place the saucepan into the simmering oven of the Aga or put the stew into a slow cooker and cook gently for a minimum of three hours.


Venison and pickled walnut stew Read More »

Chocolate nut slice

choc  nut slice

I wasn’t sure what I should call these. I was tempted by  calling it ‘cheesecake without the cheese’, but that would just be cake.  This is my youngest’s go-to recipe when she wants to make something. She was sick on Sunday night, so couldn’t go to school yesterday, despite being as bright as a button. So, yesterday was a day of keeping her amused. Her first request was to make these. They are an adaptation of a recipe by Lorraine Pascale from her Fast, Fresh and Easy Food. My youngest had this book for Christmas from her grandparents last year and she was drawn to Lorraine’s Peanut Butter Squares from her first read and we have been making them regularly ever since. However, I have played about with them each time, reducing the sugar and the peanut butter, in an attempt to make them a bit healthier and a bit less sweet. I am not saying they are healthy, but they are good and they get the thumbs up from the youngest and her dad.

250g digestive biscuits
100g soft brown sugar
50g peanut butter
100g nuts, (you can use whatever you have in your cupboard, I had hazelnuts this time)
150g butter
200g chocolate (we used 100g dark chocolate and 100g milk chocolate this time, but you can use whatever you have or like)

Method

We use a 20cm round  or square cake pan, lined with baking paper. You could also line it with clingfilm.

Melt the butter in a pan over a gentle heat.

Whizz the biscuits in a food processor until they are fine crumbs. Add the sugar and give another whizz until mixed. Add the peanut butter and nuts and whizz again. The nuts should be quite finely chopped, but a few chunks make for an interesting texture.  Pour in the melted butter and whizz until everything starts to come together.  Pour the mixture into the lined tin and press down well with the back of a spoon.

Melt the chocolate and pour and spread over the top. Because we used dark and white chocolate this time we dribbled spoonfuls of both chocolates over the top alternately to produce the marbled look.

Place the tin in the fridge to set and then cut into small squares. The ones in the photo are particularly generous slices. Half this size will suffice for each serving. It makes about 16 slices.


Chocolate nut slice Read More »

Chocolate chip cookies

choc chip cookie


I had a request the other day for a chewy chocolate chip cookie recipe. I wondered why I have not put this on the blog before now. There are quite a few cookie recipes on here and yet this is the one we make most often. The girls (aged nine and six now) can pretty much manage this one all by themselves and the biscuits are prepared, cooked and ready to eat in less than 20 minutes. We are generous with the chocolate, no chocolate drops for us, we break up a 100g bar into fairly greedy chunks instead. Pretty much every mouthful is full on chocolatey. We use 70% dark chocolate because that’s what we like, but milk and white would be equally lovely.

The recipe is adapted from one in Hugh FW and Fizz Carr’s River Cottage Family Cookbook, which is a great book to use, whether you have children in the house or otherwise. I have reduced the sugar and the vanilla extract, making for a less sweet bite than Hugh and Fizz’s.

We make them on the large side, because why would you do anything other than that?

The recipe makes 12 large biscuits.

125g butter
75g granulated sugar
75g soft dark brown sugar
1 egg
1 tsp vanilla extract
150g plain flour
½ tsp baking powder
100g chocolate, drops or a bar broken into chunks (dark, milk or white, or a mix, depending on your preference)

Method

Preheat the oven to 190°c, gas mark 5 or use the top shelf of the Aga’s baking oven.

Melt the butter in a pan over a gentle heat. Place the sugars in a bowl and stir to mix. Pour over the melted butter and stir, add the egg and vanilla extract and mix well. Add the flour and baking powder and mix to a soft dough. Stir in the chocolate chunks.

Place spoonfuls of the mixture on a baking tray, that is covered with a silicone sheet or baking paper or is well greased with a dot of butter. Bake in a preheated oven for 8-10 minutes until just turning brown. Leave on the tin to harden for a couple of minutes and then either eat or place on a wire rack to cool completely.


Chocolate chip cookies Read More »

Lemon and yoghurt cake

lemon and yoghurt cake 2

I was sent a box full of yoghurts by Chobani this week. I would have taken a picture but Mr OC likes yoghurts and has eaten most of them before I have had a chance to get the camera out of the drawer. I was initially a little bit disappointed that they were all flavoured yoghurts. I am partial to a plain yoghurt and I wanted one to cook with. However, there was a lemon flavoured one and I have been craving a lemon cake recently. Problem solved. You can, of course, just add plain greek yoghurt, but this lemon flavoured yoghurt made the cake extra lemony – always a good thing in my opinion. The cake is very light, very lemony and has a very slight crunch with the semolina. I topped it with a lemon icing which is just icing sugar and lemon juice mixed to a pouring consistency.

3 eggs, separated
100g caster sugar
grated rind and juice of 1 lemon
150g lemon flavoured or plain greek-style yoghurt
50g semolina
50g ground almonds

Method

Preheat the oven to 180°c, gas mark 4 or use the centre of the baking oven of the Aga. Grease and line a 2lb loaf tin or an 18cm round cake tin.

Beat the egg yolks, sugar and rind and juice of the lemon together until light and fluffy and the whisks are making a trail in the mixture. Fold in the yoghurt, semolina and ground almonds. Beat the egg whites until they form stiff peaks. Fold the egg whites into the cake mixture.

Pour the mixture into the cake tin and cook in the preheated oven for 25 – 30 minutes until it feels firm on top and a skewer comes out clean.  Leave it in the tin for ten minutes and then turn out onto a wire rack.

When cool, ice with a lemon icing using 100g icing sugar and the juice of a lemon, adding the lemon juice gradually as you might not need all of it to get the pouring consistency that you want.

Thank you to Amy of Chobani for sending me free samples of their yoghurt. No fee was received was for this post.

Lemon and yoghurt cake Read More »